 blog
8 Steps to a Perfect Cabinet Paint Job
Last Updated: October 31, 2026
Quick Summary
A perfect cabinet paint job follows eight steps: remove doors and hardware, clean and degloss, repair imperfections, apply bonding primer, choose the right paint, apply coats, sand between coats, and reassemble. Skipping preparation is the most common cause of peeling and chipping.
- Label every door and drawer as you remove it, and keep screws in labeled bags.
- Clean with a degreaser, then sand or deglose so the new paint has grip.
- Use a bonding primer, and spot-prime filled patches, which are more porous.
- Apply thin, even coats, then sand lightly between them with 220-grit or finer.
- Expect full cure to take a week or more, and avoid heavy use during that time.
Table of Contents
- Why Cabinet Paint Jobs Fail and What a Proper Process Prevents
- Step 1: Remove Doors, Drawers and Hardware, and Label Everything
- Step 2: Clean and Degrease Surfaces, Then Sand or Deglose
- Step 3: Repair Imperfections and Prepare the Surface
- Steps 4 and 5: Choose the Right Primer and Paint for Your Cabinets
- Steps 6 to 8: Apply Coats, Sand Between Them and Reassemble
- Cabinet Painting Tools and Supplies Checklist
- How Long a Cabinet Paint Job Takes, From Prep to Full Cure
- Frequently Asked Questions
Why Cabinet Paint Jobs Fail and What a Proper Process Prevents
Most cabinet paint jobs fail before the first coat goes on. The paint peels, chips or shows brush marks because the surface was never properly prepared. The shortcut is almost always the problem, not the paint itself.
A proper process prevents these failures. Each step builds on the one before it, so skipping one creates a weak point that shows up months later.
Here is the full sequence at a glance:
| Step | What You Do | Why It Matters |
|---|---|---|
| 1 | Remove doors, drawers and hardware | Lets you paint flat, smooth surfaces |
| 2 | Clean, degrease and sand or deglose | Helps paint stick |
| 3 | Repair imperfections | Hides flaws under the finish |
| 4 | Apply bonding primer | Creates a bond between surface and paint |
| 5 | Choose the right paint | Gives durability and color |
| 6 | Apply coats | Builds an even finish |
| 7 | Sand between coats | Removes dust and rough spots |
| 8 | Reassemble | Completes the project |
Step 1: Remove Doors, Drawers and Hardware, and Label Everything
Start by taking every door, drawer front and piece of hardware off the cabinet boxes.
Label each door and drawer as you remove it. Use painter's tape and a marker to write the location on the back, such as "upper left" or "drawer 2."
Keep the screws in labeled bags. Hardware can look identical until you need to know which hole it belongs in.
Step 2: Clean and Degrease Surfaces, Then Sand or Deglose
Kitchen cabinets collect grease, cooking oil and dirt. Paint will not stick well to a greasy surface, so clean everything first with a degreaser or cabinet cleaner.
Next, scuff the finish so the new paint has something to grip. You can sand lightly or use a liquid deglosser. Watch out: skipping this step is the most common reason paint peels later.
Choosing Sanding Grit and Deglossers by Existing Finish
Match your approach to the current finish:
- Glossy or varnished finishes: Sand with 220-grit sandpaper, or use a deglosser.
- Matte or satin finishes: A light sanding with 220-grit is usually enough.
- Raw or unfinished wood: Skip the deglosser and sand smooth with progressively finer grit.
After sanding, wipe down every surface with a damp cloth to remove all dust.
Step 3: Repair Imperfections and Prepare the Surface
Look closely at each door and frame for dents, gouges, cracks and old holes from removed hardware. For more on surface preparation techniques for dents and rough spots, see our guide.
Feather the edges so the repaired area blends into the surrounding wood. A patch that sits above the surface will show through the paint. Once the filler is dry and smooth, clean away the dust again before moving on.
Steps 4 and 5: Choose the Right Primer and Paint for Your Cabinets
Primer and paint are two different jobs, and treating them as one decision is where a lot of cabinet projects go sideways. Primer creates the bond and blocks stains; paint provides the color and the wear layer. Choose them as a pair, matched to your cabinet material and existing finish.
Step 4: Apply a Bonding Primer
Apply a bonding primer to every surface, including filled patches, edges, and the inside of the door frame. Primer does three things: it gives the topcoat something to grip, it seals porous wood so the paint does not soak in unevenly, and it blocks tannins, knots, and old stains from bleeding through a light topcoat.
A few practical rules:
- Roll or brush thin. A heavy primer coat drips, sags, and takes far longer to dry. One thin, even coat is usually enough on sound surfaces.
- Spot-prime patches. Filled areas are more porous than the surrounding wood and will soak up paint differently if left unprimed.
- Respect the recoat window. Most bonding primers list a recoat time on the label. If you wait past the maximum window, scuff lightly before topcoating so the paint still bonds.
Step 5: Choose the Right Paint
Pick a paint formulated for cabinets or trim. These products are built to resist blocking (doors sticking to the frame), stand up to frequent wiping, and cure harder than standard wall paint. Waterborne alkyd and acrylic-urethane enamels are the common choices for a factory-smooth, durable finish; traditional oil-based enamels cure hard but yellow over time and dry slowly.
Finish matters as much as the product:
- Satin: the most forgiving sheen, hides minor surface imperfections, and wipes clean.
- Semi-gloss: the most durable and easiest to clean, but it telegraphs every brush mark and dent.
- Matte or eggshell: rarely recommended for cabinets because they show fingerprints and do not clean as well.
Paint and Primer Selection by Cabinet Material
Your cabinet material and existing finish drive the product choice more than brand does:
- Wood cabinets (oak, maple, pine): A bonding primer followed by a cabinet enamel works well. On oak, fill the open grain first if you want a smooth finish, because paint will not close deep pores on its own.
- Laminate or melamine: These slick surfaces need a bonding primer made specifically for hard-to-stick substrates. Scuff first, then prime, then topcoat; skipping the specialty primer is the usual cause of peeling on laminate.
- Previously painted cabinets: Identify whether the old coating is oil-based or latex. A simple test: rub a hidden spot with denatured alcohol on a rag, latex softens and lifts, oil-based does not. Choose a primer compatible with the existing coating, and scuff the old finish so the new coat has a mechanical grip.
Steps 6 to 8: Apply Coats, Sand Between Them and Reassemble
This is where the finish quality is won or lost. The prep got the surface ready; now the goal is thin, even coats, controlled drying, and a reassembly that does not undo your work.
Step 6: Apply the Coats
Apply thin, even coats. Two coats are often enough, but a dark color over a light primer, or a dramatic color change, may need a third. Thin coats dry faster, resist drips, and level out better than one heavy layer.
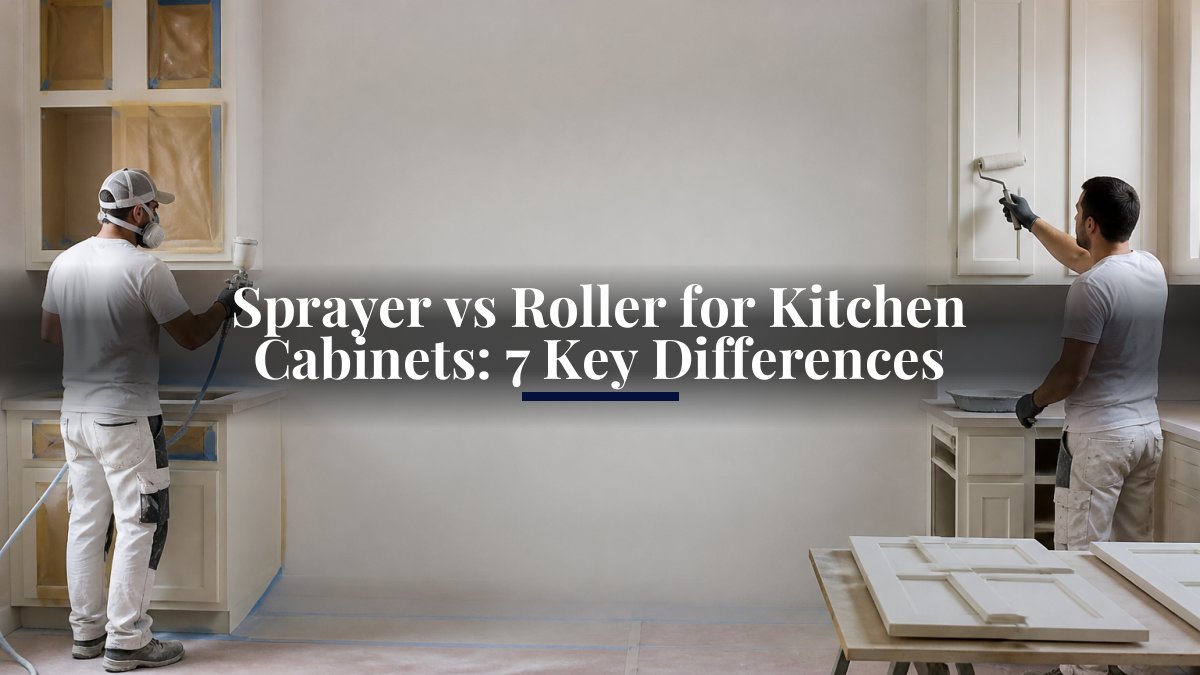
Application method matters. Compare the tradeoffs in sprayer vs roller for cabinet finishes before choosing how to apply your coats. Each tool leaves a different texture:
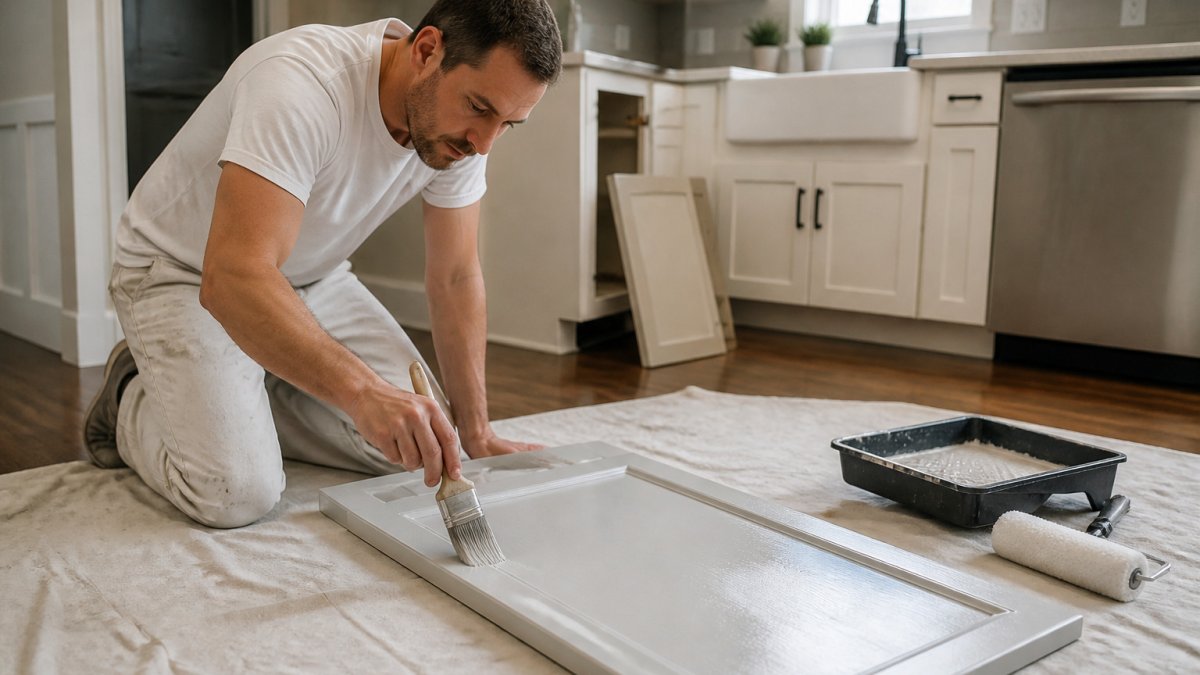
- Brush: best for edges, frames, and inside corners where a roller cannot reach. Brush marks come from too little paint and too much pressure, load the brush and lay the paint down, then tip it off lightly.
- Roller: the workhorse for door faces and large flat panels. Use a foam or short-nap microfiber roller for a fine, orange-peel-free texture. A thick nap leaves stipple that shows through the topcoat.
- Sprayer: gives the smoothest, most factory-like finish and is fastest on many doors, but it requires masking the entire kitchen, controlling overspray, and thinning product to the sprayer's spec. It is usually the right call for a full kitchen with many doors and the wrong call for a single cabinet or a tight, occupied space.
A common hybrid: roll the flats, then immediately brush the edges and recesses so the two textures blend before the paint sets.
Step 7: Sand Between Coats
Once a coat is dry to the touch, sand it lightly with fine-grit sandpaper (typically 220-grit or finer) to knock down dust nibs, brush marks, and roller texture. Wipe away the dust with a tack cloth or a damp cloth before the next coat. Do not sand so hard you cut through to the primer, the goal is a dull, smooth surface, not bare wood.
Step 8: Dry, Cure, and Reassemble
Drying and curing are not the same thing, and confusing them is how fresh paint gets ruined:
- Dry to the touch: usually a few hours, depending on product and humidity.
- Dry to handle / recoat: often 4-8 hours; check the label for the exact recoat window.
- Full cure: commonly a week or more. During cure, the finish is still soft and vulnerable.
Reassemble only after the paint is dry enough to handle without marring. Rehang doors and drawers in their labeled positions, reinstall hardware, and then leave the cabinets alone as much as possible during the cure window. Avoid harsh cleaners, heavy scrubbing, and slamming doors until the finish has hardened.
Common Mistakes and How to Fix Them
- Peeling or flaking: almost always an adhesion failure, grease left on the surface, no deglossing, or the wrong primer for the material. Strip, clean, and re-prime.
- Brush marks: too little paint, too stiff a brush, or overworking the paint as it sets. Sand smooth and recoat with a loaded brush.
- Drips and sags: too heavy a coat. Sand the drip flat once dry and apply a thinner coat.
Cabinet Painting Tools and Supplies Checklist
Gather everything before you start so you are not stopping mid-project:
- Degreaser or cabinet cleaner
- 220-grit sandpaper and fine-grit sandpaper
- Deglosser (if not sanding)
How Long a Cabinet Paint Job Takes, From Prep to Full Cure
Plan for several days of work. Preparation, cleaning and repairs usually take the most time.
Full cure can take a week or more. Avoid heavy use and harsh cleaning during this period so the finish can harden properly.
If a timeline feels hard to fit into your schedule, request a free estimate from Always Pro Painters to talk through the work with a professional team.
Frequently Asked Questions
What are the steps to paint kitchen cabinets?
A proper cabinet paint job follows eight steps: remove doors and hardware with labels, clean and degrease, sand or deglose, repair imperfections, apply bonding primer, paint the first coat, sand lightly and apply a second coat, then reassemble after full cure. Skipping any stage usually shows up as peeling, brush marks or chipping within months. Work through each step in order and let every coat dry fully before moving on.
Do you have to sand cabinets before painting?
Yes. Sanding gives the primer something to grip. Even when the finish looks smooth, a light scuff with 220-grit sandpaper or a chemical deglosser breaks the sheen so paint adhesion is reliable. Remove all sanding dust with a tack cloth before priming, because dust trapped under paint causes bumps and weak spots.
Do you need to use primer on cabinets before painting?
Use a bonding primer designed for cabinets, especially on glossy, laminate or previously varnished surfaces. Primer seals the wood, blocks tannin bleed and gives the topcoat a uniform base. Skipping primer is the most common cause of paint that peels off at the edges or handles within a year of painting.
How many coats of paint do cabinets need?
Most cabinet jobs need one coat of primer and two coats of cabinet-grade enamel, with light sanding between coats. Dark colors over a light finish may need a third topcoat for full coverage. Check the label for recoat windows, and allow the recommended drying time before applying the next coat.