 blog
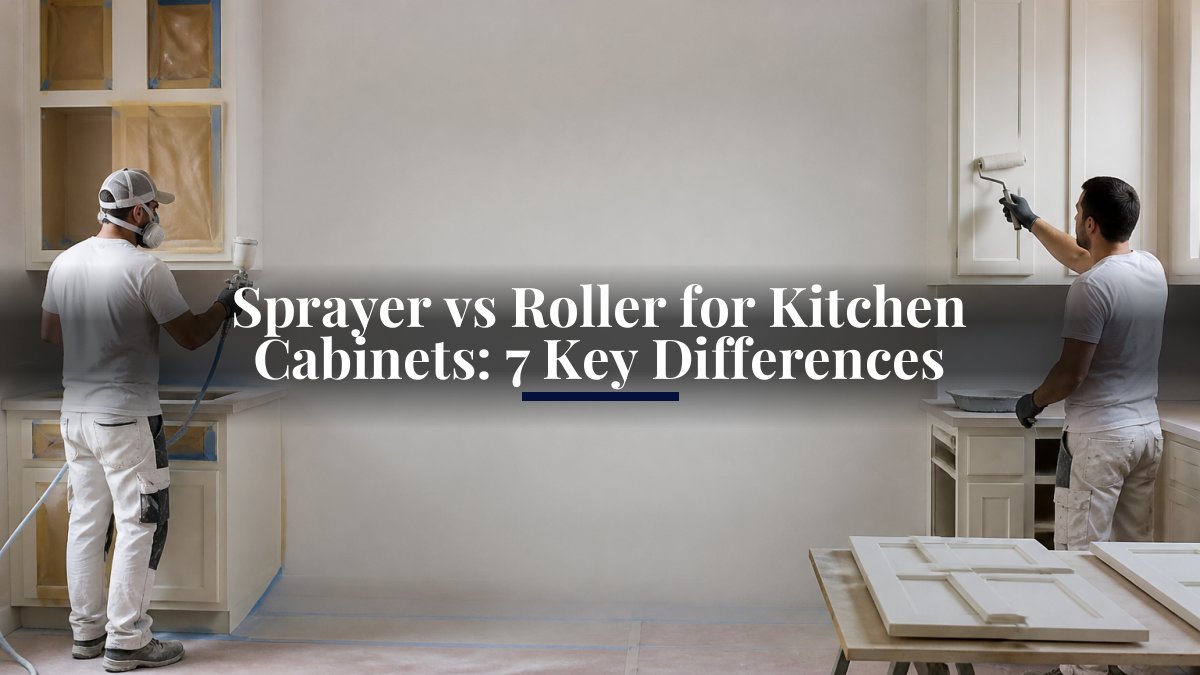
Sprayer vs Roller for Kitchen Cabinets: 7 Key Differences
Last Updated: October 29, 2026
Quick Summary
The sprayer vs roller decision comes down to one tradeoff: a sprayer delivers a smoother, more uniform finish at the cost of setup, masking, and equipment, while a roller is cheaper and simpler but leaves texture you can see and feel. Both methods demand serious surface preparation.
- A 4-inch microfiber or foam mini roller with a short nap is the best roller for cabinets.
- An HVLP or airless sprayer with a fine finish tip is best for spraying cabinets.
- Apply two thin coats rather than one heavy coat when rolling cabinets.
- Sand lightly between coats with 220-grit when rolling and 320- to 400-grit when spraying.
- Spraying requires plastic sheeting, tape, paper, and often a tent frame as real line items.
Table of Contents
- Spraying vs Rolling Kitchen Cabinets: The Core Tradeoff
- Finish Smoothness and Surface Texture
- The Best Roller for Painting Cabinets (and Where It Falls Short)
- The Best Paint Sprayer for Cabinets and Sprayer Types
- How to Get a Smooth Finish on Painted Cabinets: Step-by-Step for Each Method
- How Long Does It Take to Paint Kitchen Cabinets?
- Cost, Durability, and Safety: What the Method Really Changes
- Get a Free Estimate Before You Pick a Method
- Frequently Asked Questions
Spraying vs Rolling Kitchen Cabinets: The Core Tradeoff
The sprayer vs roller for kitchen cabinets decision comes down to one tradeoff: a sprayer delivers a smoother, more uniform finish at the cost of setup, masking, and equipment, while a roller is cheaper and simpler but leaves texture you can see and feel.
Here is what most guides get wrong: they frame this as a beginner-versus-pro question. It is not.
The short version:
- Spraying wins on finish smoothness and speed once the booth or tent is set up.
- Rolling wins on equipment cost, cleanup, and accessibility for a first-timer.
- Both demand serious surface preparation. Skip it and neither method saves you.
If you are weighing the method against the whole process, our guide to the best way to paint kitchen cabinets walks through the full sequence from degreasing to cure time.
Finish Smoothness and Surface Texture
A sprayed cabinet finish is smoother because atomized paint lands as an even coat with no applicator dragging across the surface. A rolled finish carries the texture of the roller cover, and on flat slab doors that texture shows under raking light.
Two things decide how smooth either method gets:
- Coat thickness. Thin, even coats level out. Heavy coats trap texture and sag.
- Surface prep. Sanding between coats knocks down nibs before they become permanent.
A common mistake is judging smoothness on the frame only. Cabinet doors and drawer fronts face the room and catch the light, so they set the perceived quality of the whole job.
The Best Roller for Painting Cabinets (and Where It Falls Short)
The best roller for painting cabinets is a 4-inch microfiber or foam mini roller with a short nap, used with a fine brush for edges and recessed panels.
Where rolling falls short:
- Roller stipple on flat slab doors is nearly impossible to eliminate completely.
- Brush marks appear on shaker door panels unless you back-brush and lay off in one direction.
- Even coats take more passes, especially on vertical cabinet frames where paint wants to run.
The upside is real. You need no sprayer setup, no overspray control, and cleanup is a bucket and a rinse. For a small condo kitchen or a homeowner testing the waters, rolling is the lower-risk entry point.
The Best Paint Sprayer for Cabinets and Sprayer Types
The best paint sprayer for cabinets is an HVLP or airless sprayer with a fine finish tip, matched to the coating you are using. There is no single best unit, because the choice depends on volume and finish target.
| Sprayer Type | Best For | Tradeoff |
|---|---|---|
| HVLP | Small jobs, fine finish | Slower coverage, thinner coatings |
| Airless with fine finish tip | Full kitchens, fast coverage | Higher equipment cost, more overspray |
| Air-assisted airless | Pro shops, premium coatings | Expensive, needs skill |
Sprayer technique decides the outcome more than the machine. Keep the gun moving at a consistent distance, overlap each pass, and spray cabinet doors flat rather than hanging.
How to Get a Smooth Finish on Painted Cabinets: Step-by-Step for Each Method
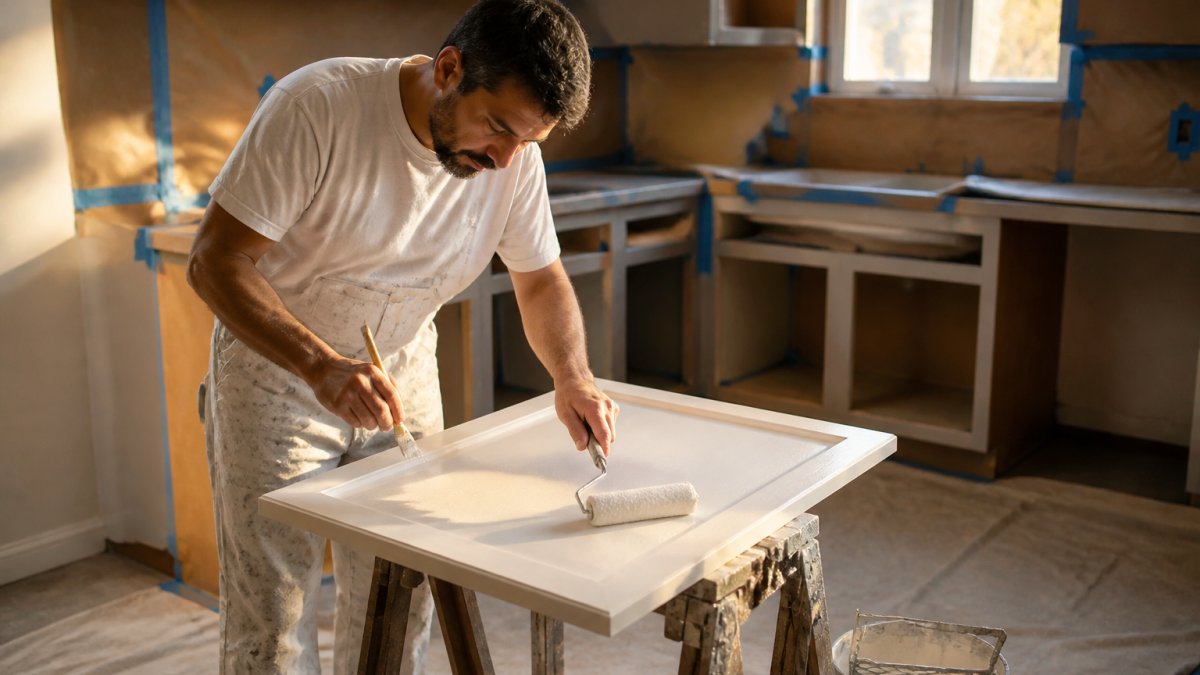
A smooth finish on painted cabinets comes from preparation and thin, even coats, not from the applicator alone. See a cabinet and furniture restoration project to preview the smooth, durable finish these steps produce.
Shared prep (both methods)
- Remove and label. Take off doors, drawer fronts, hardware, and hinges. Number each piece and its location with painter's tape so reassembly is mechanical, not a puzzle.
- Degrease. Kitchen cabinets carry cooking grease that paint will not bond to. Wipe every surface with a degreaser, then rinse and let dry. Skipping this is the most common cause of peeling, and no sprayer fixes it.
- Sand. Scuff the existing finish with 120- to 150-grit paper on a sanding block or orbital sander. The goal is a dull, uniformly scratched surface, not bare wood. Feather any chipped edges.
- Fill and caulk. Patch dings with a sandable filler, then caulk seams and gaps where panels meet stiles. Caulk after sanding, not before.
- Vacuum and tack. Remove dust with a vacuum and a tack cloth. Dust is the enemy of a smooth coat under both methods.
- Prime. Apply a bonding primer rated for the existing finish. One coat is typical; sand lightly with 220-grit after it dries, then tack again.
Rolling method
- Set up. Lay doors flat on sawhorses. Mask the frames, counters, and floor. No tent is needed, but airflow matters.
- Load the roller correctly. Use a 4-inch short-nap microfiber or foam mini roller. Load it evenly and roll off excess on the tray grid so the cover is damp, not dripping.
- Cut in first. Brush edges, recessed panels, and stiles with a fine synthetic brush, then roll the flat fields while the brushed areas are still wet so the two blend.
- Roll thin coats. Apply two thin coats rather than one heavy coat. Roll in one direction, then lay off with light pressure in a single pass to knock down stipple.
- Sand between coats. When the first coat is dry to the touch, sand lightly with 220-grit, tack, and apply the second coat.
- Topcoat and cure. Apply the durable topcoat, then wait for full cure, not just dry-to-touch, before hanging doors.
Spraying method
- Mask and tent. Mask frames, counters, floor, and anything you cannot move. Build a spray tent from plastic sheeting and set up cross-ventilation with a fan pulling air out of the space.
- Set the gun. Match the tip or needle to the coating. Test the pattern on scrap cardboard before touching a door; adjust fluid and air until the pattern is even with no tails.
- Spray doors flat. Lay doors and drawer fronts flat. Spray in overlapping passes at a consistent distance, triggering the gun off the edge of each piece.
- Build thin coats. Apply two to three thin coats, letting each flash off per the coating's recoat window. Heavy coats sag and trap solvent.
- Sand lightly between coats. A light 320- to 400-grit pass knocks down nibs without cutting through.
- Topcoat and cure. Spray the topcoat, then cure fully before reassembly. Ventilate throughout.
How Long Does It Take to Paint Kitchen Cabinets?
How long a kitchen cabinet project takes depends on the number of doors, the coating, and the prep required; request a free estimate for a timeline specific to your kitchen. The painting itself is a fraction of that time. Drying time between coats, cure time before doors go back on, and the prep work eat most of the schedule.
What stretches the timeline:
- Masking and setup for spraying adds hours before any paint flows.
- Drying time between coats cannot be rushed without hurting durability.
- Reassembly should wait until the coating cures, not just dries.
Rolling skips the tent and the masking, which shortens setup. It does not shorten cure time. Plan your kitchen downtime around the cure, not the application.
Cost, Durability, and Safety: What the Method Really Changes
Most comparisons quote the price of a sprayer and stop there. The real cost difference is the total of equipment, masking supplies, paint waste, labor, and cleanup. Here is how the two methods actually break down.
Total project cost, line by line
- Sprayer. You can rent an airless or HVLP unit for a weekend or buy one outright. Renting keeps upfront cost low for a one-time job; buying only pays off across multiple projects. Factor in tips, filters, and hose as consumables.
- Masking supplies. Spraying requires plastic sheeting, painter's tape, paper, and often a tent frame. This is a real line item, and it scales with kitchen size and how much you leave in place.
- Paint waste. Spraying loses coating to overspray and to the gun and lines during cleanup. Rolling wastes less paint but may need slightly more per coat to cover evenly.
- Labor time. Rolling is slower per coat but needs no setup. Spraying is fast per coat but front-loads hours of masking and back-loads hours of cleanup.
- Cleanup. Sprayer cleanup means flushing the gun, lines, and tip, which can take as long as a coat. Roller cleanup is a rinse and a bucket.
A common pattern is that the equipment gap between the methods narrows once masking, waste, and cleanup are counted, especially on a single kitchen. The sprayer's advantage is finish quality and speed per coat, not necessarily total dollars.
Durability and long-term performance
Durability favors the coating system and the cure, not the applicator. A quality cabinet coating applied over properly degreased, sanded, and primed surfaces and allowed to cure fully will resist chipping, wear, and cleaning better than a premium sprayer used on a rushed schedule. The variables that matter most are adhesion (prep), film build (thin, even coats), and cure time before doors go back on. Neither method rescues a skipped prep step.
Safety, ventilation, and overspray control
This is where the methods diverge sharply. Spraying produces overspray and airborne solvent, so ventilation, a respirator rated for the coating, and covering every surface are non-negotiable. Rolling keeps solvent more contained but still needs airflow, and solvent-based coatings require the same respiratory protection either way. The EPA's guidance on volatile organic compounds is worth reading before spraying any solvent-based cabinet coating indoors.
If you are comparing doing it yourself against hiring out, our breakdown of professional painting vs DIY covers cost, time, and quality side by side.
Get a Free Estimate Before You Pick a Method
At Always Pro Painters, we start with detailed surface preparation so the coating has a clean foundation to bond to. Our process ends with a final walkthrough to ensure every detail meets your expectations. We build every project around the finish, not the rush.
Get started with Always Pro Painters and request a free estimate for your cabinet refinishing project. We will walk your kitchen, explain which method fits your doors and frames, and give you a clear scope before any paint is opened.
Frequently Asked Questions
Is it better to roll or spray kitchen cabinets?
Neither method wins outright. Spraying gives the smoothest, most factory-like finish and is faster on doors and drawer fronts, but it needs masking, ventilation, and more setup. Rolling with a fine-nap roller and a quality cabinet paint is simpler, cheaper, and works well for frames and small jobs. Many pros combine both: spray the doors and drawer fronts, roll or brush the frames.
Is a paint sprayer worth it for cabinets?
It depends on scope. For a full kitchen with many doors and drawer fronts, a sprayer can save hours and deliver a flatter finish with fewer brush marks. For a few cabinets or a tight budget, the setup, masking, and cleanup time often outweigh the benefit, and a roller is the more practical choice.
Can you get a smooth finish on kitchen cabinets with a roller?
Yes. Use a fine-nap roller, thin the paint per the label, and apply two or more thin coats rather than one heavy coat. Sand lightly between coats with fine grit, and lay off the final pass in one direction to reduce stipple. The result is smooth, though usually not as glass-flat as a sprayed finish.
Do you need to remove cabinet doors before spraying or rolling?
Removing doors and drawer fronts is strongly recommended for either method. It lets you paint flat surfaces without runs, reach the edges cleanly, and keep paint off the frames. Label each door and its hardware so reassembly is straightforward, and paint the frames while the doors dry elsewhere.