
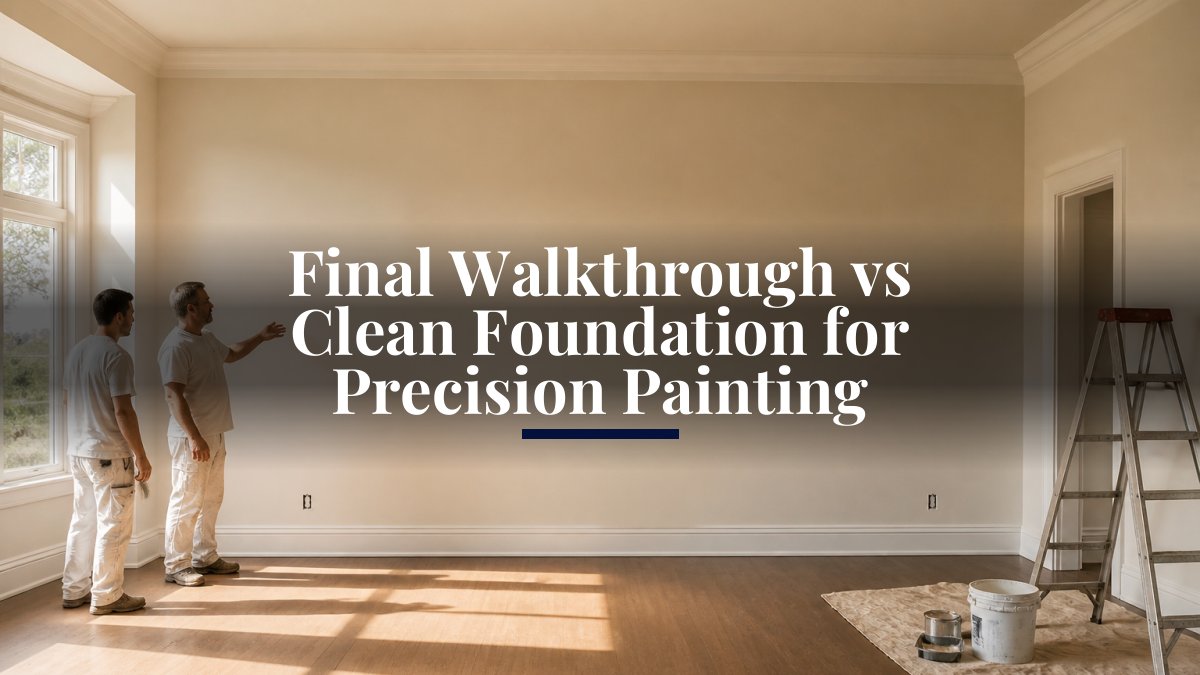
 comparison
Final Walkthrough vs Clean Foundation for Precision Painting
Table of Contents
- Why Precision Painting Demands Both a Clean Foundation and a Final Walkthrough
- Professional Painting Surface Preparation: The Clean Foundation for Paint
- Painting Contractor Final Walkthrough Checklist: What to Inspect and How
- How to Get Precise Paint Lines: Techniques for Clean Edges and Transitions
- Signs of a Bad Paint Job: What Preparation Defects Look Like After the Final Coat
- Comparing Final Walkthroughs and Clean-Foundation Preparation: Different Stages, Different Defects
- Stage-by-Stage Quality Control: A Checklist for Every Phase of the Project
- Frequently Asked Questions
Last Updated: October 18, 2026
Why Precision Painting Demands Both a Clean Foundation and a Final Walkthrough
A precision paint job is decided twice: once when the surface is prepared, and again when the work is inspected. Miss either stage and the finish suffers, no matter how good the paint itself is.
That is the core tension in comparing a final walkthrough to a clean foundation for paint. They are not competing steps. They catch different defects at different moments. One prevents problems from forming; the other proves they were prevented. At Always Pro Painters, we treat both as non-negotiable checkpoints rather than optional extras, because skipping either one is how "good enough" jobs get signed off and then disappoint.
Below, we break down what each stage actually involves, how to inspect a paint job properly, and why the two together, not either alone, produce a professional-looking finish that lasts.
Professional Painting Surface Preparation: The Clean Foundation for Paint
Surface preparation is the work that makes paint adhere, dry evenly, and hold a smooth finish. It removes what shouldn't be there (dust, grease, mildew, loose rust, peeling paint) and repairs what paint can't hide (cracks, holes, uneven drywall).
A clean foundation for paint is not a quick wipe-down. It is a sequence. Contaminants get removed first, because sanding over grease just pushes it around. Repairs come next, so patching compound can cure before sanding. Then sanding creates the smooth surface that lets a coating system sit flat and bond properly.
What most guides miss is the order. Sanding a greasy kitchen wall, or priming a damp patch, undermines every coat that follows. The prep stage is where durability and aesthetics are actually won.
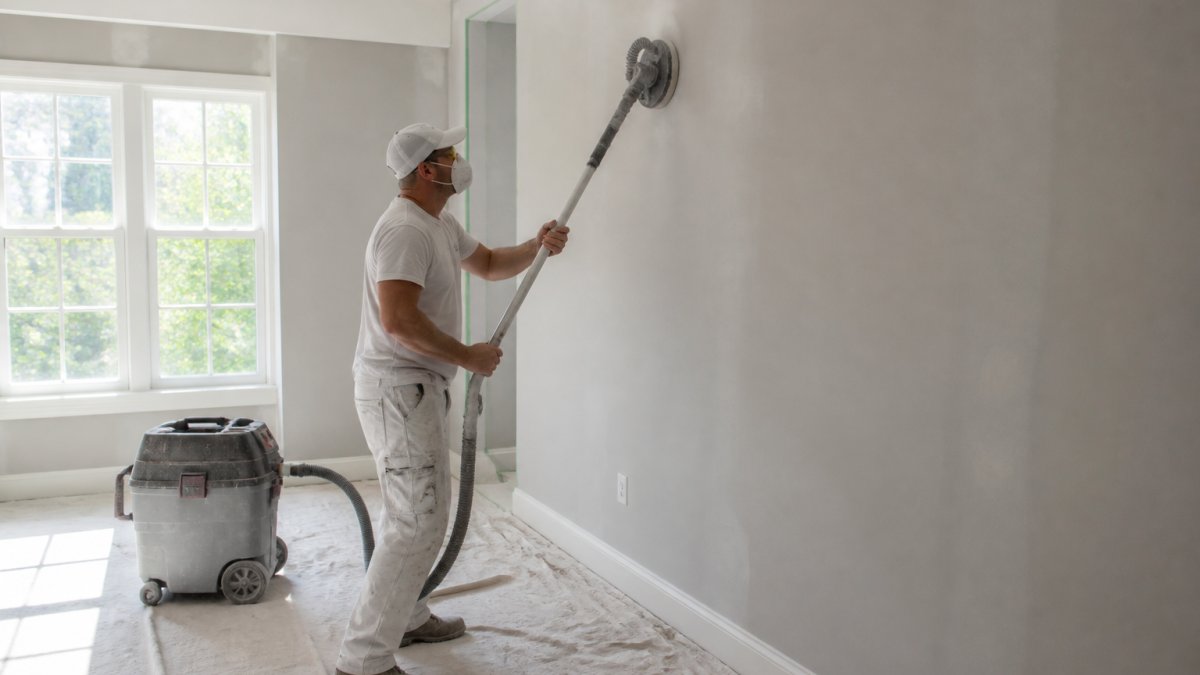
Step-by-Step Prep: Cleaning, Repairing, and Sanding for a Smooth Finish
- Clear and protect. Move furniture and lay protective coverings over floors and fixtures before any dust flies.
- Clean the surface. Wash away dirt, oil, and grease with appropriate cleaning tools; treat mildew where it appears.
- Remove failing material. Scrape loose rust and peeling paint back to a sound edge.
- Repair imperfections. Fill cracks and holes, then let patching compound cure fully.
- Sand for smoothness. Sand patched areas and the surrounding wall so transitions disappear.
- Dust off and verify. Vacuum and wipe away dust, then confirm the surface is clean and dry before painting.
Painting Contractor Final Walkthrough Checklist: What to Inspect and How
A painting contractor final walkthrough checklist is the structured inspection you run with the crew before signing off. It exists to catch defects while they can still be fixed, to confirm the clean foundation actually delivered, and to give both parties a shared standard for acceptance rather than a subjective impression.
Most guides list what to look at but not how to judge it. The gap is acceptance criteria. A finish passes when coverage is uniform with no thin or missed spots, sheen is consistent across the wall with no flashing or lap marks, edges and transitions are crisp with no bleed-through, there are no visible drips, sags, or brush marks, and the site is clean with floors, furniture, and fixtures protected and restored. Those criteria turn a walkthrough from a opinion into a decision.
Here is the checklist we use, and the one you can borrow when reviewing any job:
- Walk each room slowly, wall by wall, in daylight and with a work light
- Check edges, corners, and transitions between colors and surfaces
- Look for drips, sags, and brush marks in the finish
- Confirm coverage is even, with no thin or missed spots
- Verify sheen is consistent and free of flashing or lap marks
- Inspect touch-ups around outlets, trim, and hardware
- Verify floors, furniture, and fixtures were protected and left clean
- Note every issue on a punch list with location and description
- Agree on remediation and a re-inspection date before final sign-off
Lighting and Viewing Conditions for a Thorough Inspection
Most defects hide in bad light. A wall that looks flawless under a dim bulb can show every lap mark and sanding scratch in raking daylight. Inspect in natural light where possible, and use a work light held at a low angle to graze the surface. That raking light reveals imperfections a straight-on view misses. Check the same wall at different times of day, because viewing conditions change the finish you see. Viewing distance matters too: stand back to judge overall coverage and sheen, then move close to inspect edges, corners, and transitions. A defect that disappears at ten feet may still be a legitimate punch-list item at arm's length.
Punch Lists, Remediation, and Customer Sign-Off
A walkthrough without documentation is a conversation, not a record. Every issue goes on a punch list with location, description, and a photo where possible. Prioritize items that affect durability or adhesion, such as peeling, blistering, or thin coverage, ahead of cosmetic touch-ups. Agree on who performs each correction, the method, and a re-inspection date before final sign-off. After corrections, re-inspect under the same lighting conditions used for the original walkthrough so the comparison is fair. Final sign-off should confirm that the punch list is resolved and that the customer has had a chance to review the work in the conditions that reveal defects.
How to Get Precise Paint Lines: Techniques for Clean Edges and Transitions
Precise paint lines come from prep and technique, not luck. Clean edges start with a stable, dust-free surface and sharp transitions between colors, trim, and ceilings.
The reliable method: apply painter's tape firmly along the transition, press the edge down to seal it, and cut in with a quality brush before rolling the field. Remove tape at the right angle while the paint is still slightly soft. Load the brush properly so it doesn't drip, and keep a steady hand along edges and corners. Where a line does go wrong, fix it with a careful touch-up rather than smearing fresh paint over it.
Signs of a Bad Paint Job: What Preparation Defects Look Like After the Final Coat
Preparation defects show up after the paint dries, which is why they're easy to miss until it's too late. The finish looks fine wet and fails in the weeks that follow.
Watch for peeling or flaking where paint didn't bond, which usually traces back to a dirty or damp surface. Bubbling and blistering often mean moisture was trapped under the coating. Visible sanding scratches, ridges over patches, and uneven sheen point to skipped sanding or poor surface repair. Mildew returning quickly signals the surface wasn't properly cleaned. Each of these is a foundation problem, not a paint problem.
Comparing Final Walkthroughs and Clean-Foundation Preparation: Different Stages, Different Defects
A final walkthrough and clean-foundation preparation are different stages aimed at different defects, and the confusion between them is why some jobs get signed off and then fail. Preparation prevents adhesion failures, roughness, and contamination problems before the first coat.
The clearest way to see the split is to trace how a specific foundation problem becomes a specific finish defect. Dust or grease left on a wall stops the coating from bonding, and the result is peeling or flaking that appears after the paint dries, often within weeks.
| Stage | When It Happens | What It Catches | Who Runs It | Acceptance Standard |
|---|---|---|---|---|
| Clean foundation prep | Before any paint | Contamination, poor adhesion, surface defects, moisture | Crew, before coating | Surface clean, dry, repaired, and sanded smooth; primer compatible with substrate |
| Final walkthrough | After the last coat dries | Drips, thin coverage, edge flaws, cleanup gaps, sheen inconsistency | Crew and customer together | Uniform coverage, consistent sheen, crisp edges, no visible defects, clean site |
Timing matters as much as sequence. Prep checks happen while the surface is still accessible and correctable; a contaminant found before primer costs a wipe-down, while the same contaminant found at walkthrough costs stripping back to the substrate and redoing the prep.
For interior, exterior, and industrial coatings, the split holds, though exterior and industrial work adds weather and substrate checks that interior jobs skip.
Stage-by-Stage Quality Control: A Checklist for Every Phase of the Project
Quality control works best as a gate at every phase, not a single look at the end. Each stage gets checked before the next begins.
- Prep sign-off: surface clean, dry, repaired, and sanded smooth
- Primer check: even coverage, correct product for the substrate
- Finish coat check: consistent coverage, no thin spots or sags
- Detail pass: edges, corners, and transitions verified
- Cleanup check: protective coverings removed, dust cleared, hardware back in place
- Final walkthrough: punch list resolved, customer sign-off recorded
This is where we'd draw the line: if a crew can't show you the prep was done, the walkthrough becomes guesswork. At Always Pro Painters, our process runs from detailed surface preparation through a final walkthrough to ensure satisfaction, with no shortcuts between the two.
For broader guidance on what a quality finish should look like, the Paint Quality Institute's consumer guides cover coating performance and application standards, and the U.S. Environmental Protection Agency's indoor air quality resources explain why proper surface prep and ventilation matter during painting.
Frequently Asked Questions
What should be included in a final painting walkthrough?
A final walkthrough should cover every surface: walls, ceilings, trim, doors, and cabinets. Check for even coverage, smooth finishes, clean lines at edges and corners, and proper adhesion. Inspect for drips, runs, or missed spots. Confirm that all protective coverings are removed and the space is clean. Test lighting at different times of day to reveal imperfections. Document any issues on a punch list and agree on a remediation timeline before signing off.
How can you tell if a paint job has a smooth, even finish?
Run your hand along the surface; it should feel uniformly smooth without bumps, grit, or ridges. Look at the wall from an angle under raking light to spot shadows that indicate uneven sanding or debris trapped under the paint. Check for lap marks where sections overlap. A high-quality finish shows consistent sheen and color with no visible brush or roller strokes. These qualities depend on both proper surface preparation and careful application.
Why is surface preparation important before painting?
Surface preparation creates the clean foundation that paint needs to bond properly. Dust, dirt, oil, grease, mildew, loose rust, and peeling paint prevent adhesion, leading to premature failure. Repairs to cracks and holes ensure a smooth finish. Sanding creates a profile for the coating to grip. Skipping these steps may look fine initially but often results in peeling, blistering, or uneven sheen within months, requiring costly rework.
What should you do if you find problems during a painting walkthrough?
Document each issue on a punch list with photos and specific locations. Discuss the findings with your contractor and agree on a remediation plan and timeline. Common fixes include touch-ups, additional sanding, or repainting affected areas. Ensure the contractor addresses the root cause, not just the symptom. For example, if you see peeling, the underlying adhesion problem must be corrected. Get the resolution in writing before final payment.
A precision finish depends on groundwork you can verify and a walkthrough you control. If you're planning a refresh and want both stages handled properly, Always Pro Painters brings a clean foundation for paint, detailed surface preparation, and a final walkthrough to ensure satisfaction on every project. Get started with Always Pro Painters and request your free estimate today.