 How-to
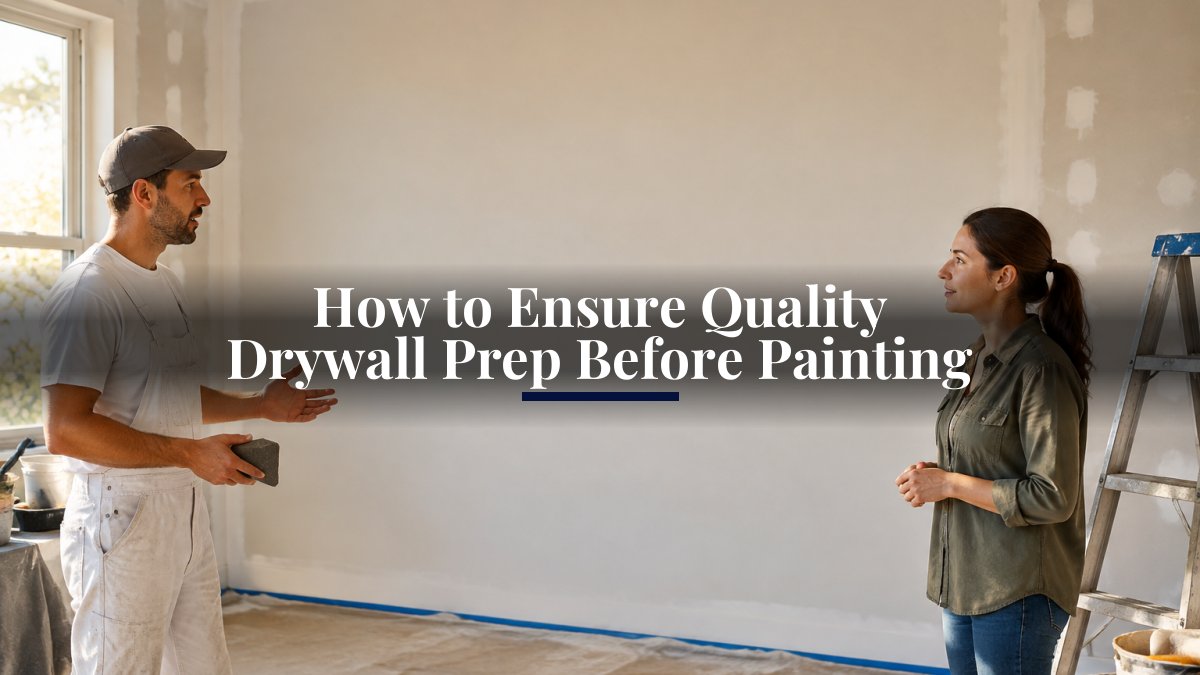
How to Ensure Quality Drywall Prep Before Painting
Last Updated: November 16, 2026
Quick Summary
Quality drywall prep means making the wall smooth, clean and sealed before any paint goes on. That covers filling and sanding joints, patching holes, checking for loose fasteners, removing dust, and priming with PVA. Checking the wall under a raking light catches flaws that normal room light hides.
- Check the wall under a low, raking work light, because flaws vanish in daylight.
- Mark nail pops, cracks and high spots with painter's tape before you start.
- Apply joint compound in thin coats and let each one dry fully before sanding.
- Sand from coarse to fine grit, moving from 120 up to 150 or 180 for the final passes.
- Vacuum and wipe away all drywall dust before priming so the primer can bond.
Table of Contents
- What Quality Drywall Prep Means for Your Paint Job
- Inspecting New Drywall for Defects Before You Start
- How to Prepare Drywall for Painting After Sanding
- Using PVA Drywall Primer on New Walls
- 1 or 2 Coats of Primer on New Drywall: Which Do You Need?
- How to Prep New Drywall for Paint, Step by Step
- Troubleshooting Common Drywall Prep Defects and Your Next Step
- Frequently Asked Questions
What Quality Drywall Prep Means for Your Paint Job
Quality drywall prep is the difference between a paint job that looks sharp for years and one that shows every seam, nail pop and ridge under the first good light.
Drywall prep means making the wall smooth, clean and sealed before a single coat of color goes on.
What a well-prepped wall looks like:
- Joints and corners blend into the wall with no ridges you can feel with your hand
- Nail and screw heads are sealed and flush with the surface
- There are no visible holes, dents or lumps under raking light
A common mistake is judging the wall only by how it looks in normal room light. Turn on a work light and hold it low, close to the wall.
Inspecting New Drywall for Defects Before You Start
Start with a careful walk around the room before you open a bucket of joint compound. If your whole new home needs this kind of finishing room by room, see room-by-room drywall finishing.
Mark anything you find with painter's tape so you can track it. Common issues on new drywall include:
- Nail pops: fasteners pushed slightly out of the board
- Cracks along seams: often caused by drying or movement
- Ridges and high spots: joint compound left raised above the surface
Check the drywall at the seams and corners with your hand as well as your eyes. Run your palm slowly across the joint.
Inspection checklist before you start:
- Walls checked under a raking light
- Every nail pop and screw head marked
- Seams and corners checked by touch
Address structural issues first. If you see large cracks that keep opening, or sections that feel soft, stop and find the cause before you cover anything.
How to Prepare Drywall for Painting After Sanding
Sanding gives the surface its smooth finish, and it is where most rushed jobs go wrong. For a professional on this exact prep work, see Drywall & Finishing.
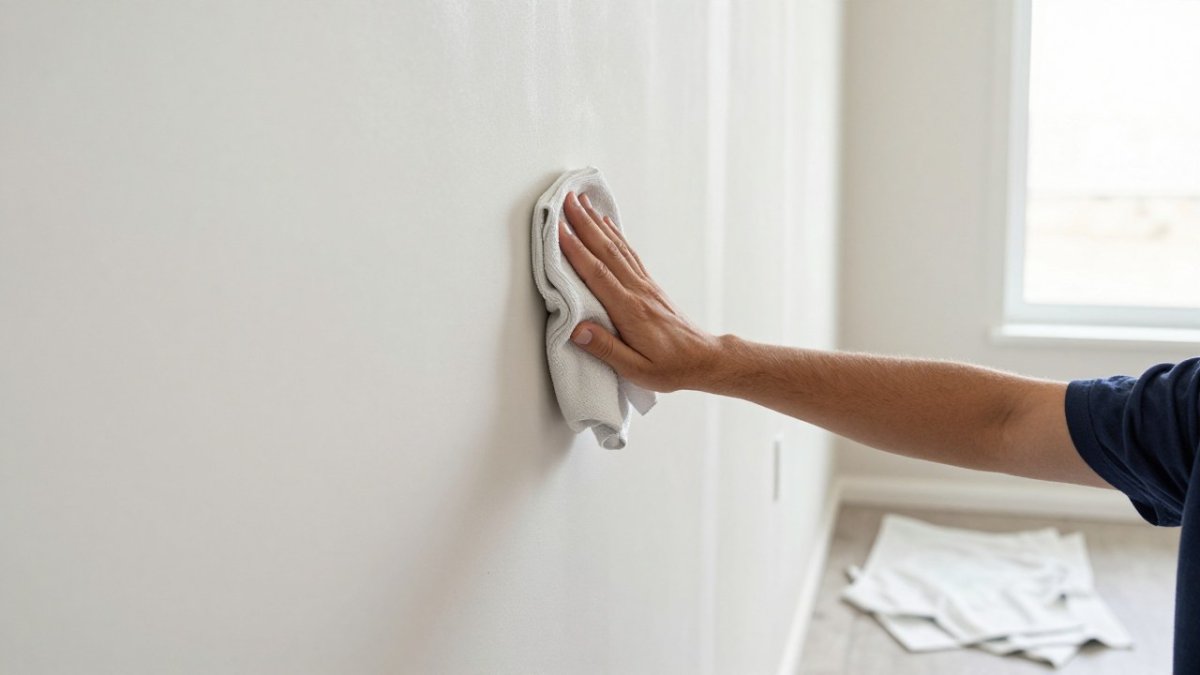
Step-by-step sanding process:
- Let each coat of joint compound dry fully before sanding. Thin coats dry faster.
- Sand the joints with a pole sander or a sanding sponge, using light, even strokes.
- Feather the edges of the compound so the patch blends into the wall.
- Inspect the wall under raking light and mark any remaining high spots.
- Spot-sand the marked areas and recheck.
- Repeat with a final coat if needed, then sand once more.
Avoid pressing hard. Heavy pressure cuts into the paper facing and leaves dips in the compound. Let the sandpaper do the work with steady, moderate pressure.
Wipe the wall with a clean, dry microfiber cloth after sanding. The cloth picks up fine dust that a broom would only push around.
Choosing the Right Sandpaper Grit
Grit choice matters. Coarse paper removes compound quickly but leaves scratch marks that show through paint. Fine paper gives a smoother finish but takes longer.
A 120-grit paper works well for the first heavy sanding of thick compound.
Replace sandpaper once it clogs or dulls. Worn paper polishes the surface instead of cutting it, and that makes uneven spots harder to see.
Removing Drywall Dust Before Priming
Drywall dust is the enemy of paint adhesion. Dust left on the wall keeps primer from bonding and can cause flaking later.
Dust removal steps:
- Vacuum the walls with a brush attachment, working from top to bottom
- Wipe every surface with a damp (not wet) sponge or cloth
- Let the wall dry completely before priming
Cover floors, furniture and vents with plastic sheeting before you sand. Turn off the HVAC system, or at least close the vents in the work area, so dust does not spread through the house. Wear a dust mask rated for fine particles while sanding.
Using PVA Drywall Primer on New Walls
A PVA (polyvinyl acetate) drywall primer is the standard choice for new drywall. It seals the porous surface so the paint dries evenly instead of soaking in unevenly. Without sealing, new joint compound absorbs paint at different rates, and the wall shows flashing: patches that look dull while the rest looks glossy.
PVA primer also helps paint grip the surface. Use it on new drywall, patched areas and any spot where the compound has been sanded to a dull finish.
When PVA Is the Right Primer, and When It Is Not
PVA is formulated for bare drywall and fresh joint compound. It is not a universal primer, and using it in the wrong place causes problems later.
- Use PVA on: new drywall, patched and sanded areas, and any surface where bare paper or compound is exposed.
- Do not use PVA as a stain blocker. It seals porosity but does not hide water stains, smoke residue or marker. Those need a stain-blocking primer first.
- Do not use PVA over glossy or previously painted surfaces. It is designed to soak into porous drywall; on a sealed surface it can fail to bond. Scuff and use a bonding primer instead.
If a wall has both new drywall and old painted sections, prime the new drywall with PVA and spot-prime the painted areas with a bonding primer, or use a primer labeled for both surfaces.
Handling Uneven Porosity and Repairs
Fresh compound and bare paper absorb primer at different rates. That is why some spots look dull after the first coat while the rest looks even.
- Skim-coat first if the wall is heavily patched. A thin skim coat over the repaired area evens out porosity before priming.
- Spot-prime repairs before rolling the whole wall. Dull patches after the first full coat tell you where the compound is still absorbing.
- Check for flashing after the primer dries. Look at the wall under raking light. If you can still see the outline of seams or patches, apply a second coat of PVA before painting.
Watch out: Priming over compound that is still damp traps moisture and causes the primer to fail. Confirm the compound is dry by touch and color, dry compound turns uniformly white, before you prime.
Temperature, Humidity and Drying Conditions
PVA primer and joint compound both depend on temperature, humidity and airflow to dry.
- Temperature: Most manufacturers specify application above 50°F and below 90°F. Cold slows curing; extreme heat can skin the primer before it bonds.
- Humidity: High humidity slows drying and can leave the primer tacky longer. Run a dehumidifier or increase airflow in damp conditions.
- Airflow: A box fan moving air across the wall speeds drying but can also blow dust onto wet primer. Point fans at the floor or away from the wall.
Verify dryness rather than watching the clock. Touch the wall in an inconspicuous spot; if it feels cool or tacky, it is not ready.
Tips for applying PVA primer:
- Stir the primer thoroughly before use
- Work in sections, rolling in a W pattern to spread evenly
- Keep a wet edge to avoid lap marks
Always check the product label for drying times and recoat windows. Drying conditions, such as humidity and temperature, change how long the primer takes to set.
1 or 2 Coats of Primer on New Drywall: Which Do You Need?
Most new drywall needs one full coat of PVA primer, applied evenly over the entire surface. A second coat makes sense in a few specific cases:
- The drywall is very porous or was patched in many places
- The wall is a dark color and you want to paint a light color over it
- Patched spots still look dull or absorb paint unevenly after the first coat
A second coat also helps when the first coat went on thin. Look for areas where you can still see the joint compound through the primer.
Do not skip primer to save time.
Keep the decision simple: one coat for most walls, and a second coat when the wall shows dull spots, dark color or heavy patching after the first coat dries.
How to Prep New Drywall for Paint, Step by Step
Here is the full sequence from bare board to ready-to-paint wall.
What you will need:
- Joint compound and taping knives in several widths
- Pole sander or sanding sponges in 120 and 150-180 grit
- Flashlight or work light for raking inspection
Step-by-step process:
- Inspect the walls. Mark nail pops, cracks and high spots with painter's tape.
- Fix fasteners. Drive in or reset loose screws, then cover them with compound.
- Apply compound in thin coats. Feather each coat wider than the one before.
- Let each coat dry fully. Do not sand damp compound.
- Sand smooth. Work from coarse to fine grit, checking under raking light.
- Remove all dust. Vacuum, then wipe with a damp cloth. Let the wall dry.
- Apply PVA primer. One coat for most walls, two where needed.
- Inspect again. Check the primed wall for flashing, missed spots and lap marks.
Plan the job so each stage finishes before the next starts. Rushing the drying time between coats is the most common cause of cracks and visible seams.
Here is a quick reference for the key steps and what each one needs, drawn from the process above.
| Step | What to do | Time or frequency |
|---|---|---|
| Inspect the walls | Mark nail pops, cracks and high spots | Before starting |
| Apply compound | Apply in thin coats, feathering each wider | Let each coat dry fully |
| Sand smooth | Work from coarse to fine grit | Check under raking light |
| Remove dust | Vacuum, then wipe with a damp cloth | Let wall dry before priming |
| Apply PVA primer | One coat for most walls, two where needed | Follow label drying time |
| Final inspection | Check for flashing, missed spots, lap marks | After primer dries |
Troubleshooting Common Drywall Prep Defects and Your Next Step
Some defects show up only after primer or paint goes on. Use this quick guide to find the cause.
- Seams show through paint: The compound was feathered too narrow or sanded unevenly. Re-feather and sand, then prime again.
- Nail pops return: The fastener was not set deep enough or the board moved. Reset the fastener, cover it, and check again after the wall settles.
- Dull patches after priming: The spot is absorbing paint. Apply a second coat of PVA primer.
Call a professional if you see large or moving cracks, soft or sagging drywall, water staining, or patches that keep failing after repair. For a practical guide to assessing and patching wall and ceiling damage, read drywall repair advice.
For a smooth, even result from start to finish, a thorough surface preparation process and a final walkthrough before a job is called complete are the standard to look for.
Frequently Asked Questions
What should I do to prep drywall before priming it?
Before priming, inspect the wall under raking light to find ridges, pinholes and lap marks. Sand any high spots smooth with 120 to 150-grit sandpaper, then finish with 180-grit for an even surface. Vacuum the wall with a brush attachment, then wipe it with a barely damp cloth to pick up fine dust that would otherwise block primer adhesion. Let the wall dry completely before you apply primer. Doing these steps in order is what makes the paint finish look uniform instead of blotchy.
Should you use PVA primer on new drywall?
Yes. A PVA drywall primer, short for polyvinyl acetate, is designed to seal the porous paper and joint compound on new drywall. Sealing evens out how much paint each area absorbs, which prevents flashing, where patched spots look dull or shiny next to the rest of the wall. It also improves paint adhesion and gives you a uniform base. Most painters use a PVA primer on new drywall before the finish coats, and it is especially important over fresh joint compound.
How many coats of primer does new drywall need?
Most new drywall gets one coat of PVA drywall primer, followed by one or two finish coats of paint. Apply a second primer coat if the wall has heavy patching, very porous joint compound, or large areas of bare paper that soak up paint unevenly. Check for flashing after the first primer coat dries. If patched areas still look dull or different in sheen, a second primer coat usually fixes it. Follow the drying time printed on the primer label before adding paint.
How do you prep new drywall for paint?
Start by inspecting the wall for defects and marking anything that needs repair. Fill holes, cracks and dents with joint compound, let it dry fully, then sand smooth. Sand the whole surface with a pole sander and 120 to 180-grit sandpaper so the finish is even. Remove all dust by vacuuming and wiping, and protect floors, trim and furniture with drop cloths and painter's tape. Once the wall is clean and dry, apply a PVA drywall primer and let it cure before painting.