 How-to
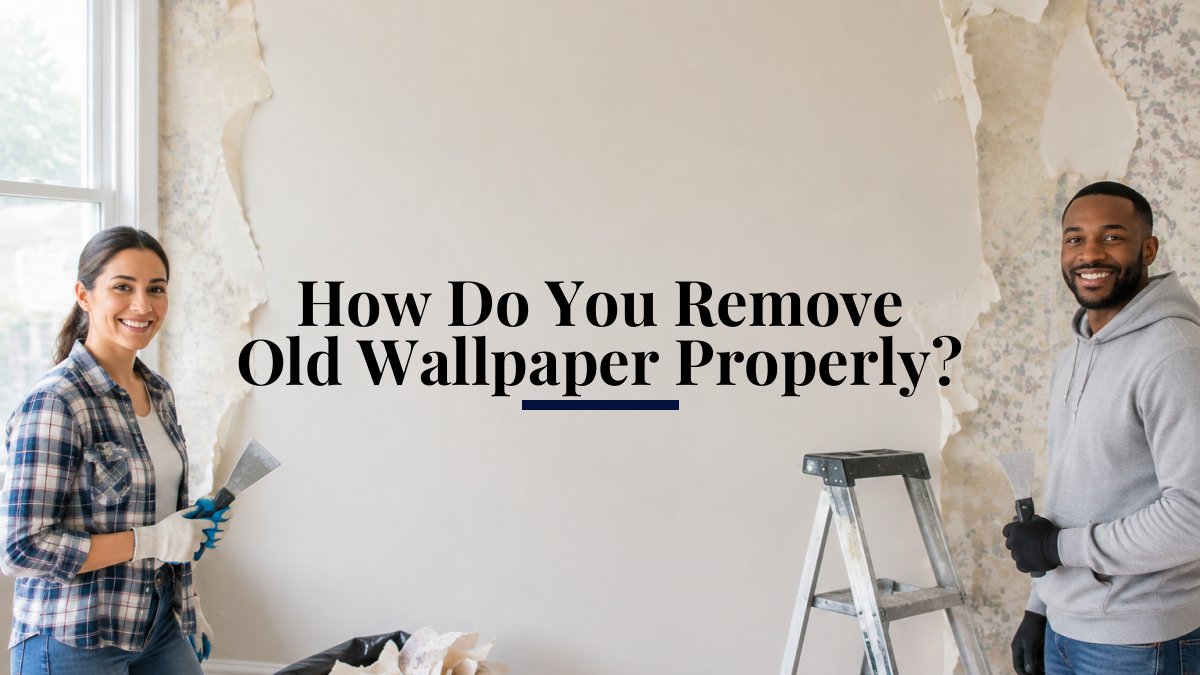
How Do You Remove Old Wallpaper Properly?
Last Updated: November 17, 2026
Quick Summary
To remove wallpaper properly, first identify whether it is strippable vinyl or paper-backed, then score the surface if needed, soak it with hot water or a solution, and scrape gently at a low angle. Give each section 10 to 15 minutes to soak before you scrape. Remove wallpaper slowly and in small sections to avoid damaging the drywall or plaster beneath.
- Test a corner near a seam to see whether the paper peels in strips or tears.
- Score paper-backed wallpaper in lines about one inch apart with light pressure.
- Give the first soak 10 to 15 minutes, then test a corner before scraping.
- Hold the putty knife at about 20 to 30 degrees and work with the grain of the paper.
- Let the wall dry at least 24 hours, or 48 in humid weather, before you paint.
Table of Contents
- How to Identify Your Wallpaper and Wall Type Before You Start
- Gather the Tools and Protect Your Room
- How to Remove Wallpaper With Water and a Homemade Solution
- When a Wallpaper Steamer Is the Better Choice
- Scraping Safely and Troubleshooting Damage and Adhesive Residue
- How to Prepare Walls After Wallpaper Removal
- Booking Help for a Full Wallpaper Removal and Repaint With Always Pro Painters
- Frequently Asked Questions
How to Identify Your Wallpaper and Wall Type Before You Start
Removing old wallpaper starts with knowing what you are dealing with before you attempt to remove wallpaper from any wall.
Test the paper by lifting a corner near a seam. If it peels off in one or two large strips, you likely have strippable vinyl or thin paper.
Check the wall at the baseboard and an outlet cover, which often show whether it is drywall or plaster.
- Strippable vinyl: peels in long sheets with a little heat or water
- Paper-backed or non-strippable: needs scoring, soaking, or steaming
- Multiple layers: more than one paper is on the wall, which means more time and more care
Gather the Tools and Protect Your Room
- A wide putty knife or wallpaper scraper
- A scoring tool (a spiked wheel or roller)
- A garden sprayer or spray bottle
Move furniture to the center of the room and cover it. Remove outlet and switch covers and tape over the openings, and turn off power to the room at the breaker. Water and electricity do not mix.
Protect the trim and baseboards with tape or a strip of plastic. Water can warp wood trim and soak into the floor.
How to Remove Wallpaper With Water and a Homemade Solution
Water-based soaking is the default method for most paper-backed wallpaper and the one most DIYers should try first. The goal is to get moisture into the paper backing so the adhesive softens, then lift the paper without tearing the wall. Clean removal comes down to how much solution you apply, how long you wait, and whether you scored the surface first.
Choose Your Solution by Wallpaper Type
Not every wallpaper responds the same way to the same mix. Use this as a starting point, then test a small hidden area first.
- Strippable vinyl (peels in sheets): Start with plain hot water. Vinyl facing often releases from its paper backing with heat and a little moisture, so a spray bottle of hot water and a 5- to 10-minute wait is usually enough. Skip the soap and fabric softener unless the paper backing stays behind.
- Paper-backed or non-strippable: Use hot water with a few drops of dish soap or about a cup of fabric softener per gallon. The surfactant helps the water wet out the paper and reach the adhesive.
- Multiple layers: Score through the top layer, soak, and remove one layer at a time; the bottom layer needs its own soak.
A commercial wallpaper remover, diluted per the label, is worth the cost when the paper has been painted over, when the adhesive is old and gummy, or when a homemade mix has already failed. It still needs scoring and dwell time.
Scoring Before You Soak
Scoring lets water reach the adhesive. Roll a scoring tool across the paper in tight lines, about one inch apart, using light pressure.
Once scored, spray the solution, wait a few minutes, and spray again.
Watch out: Scoring too deeply on drywall leaves tiny gouges that telegraph through a fresh coat of paint. Use the lightest pressure that still breaks the paper surface, and keep the tool moving.
Soak Times and How to Read the Paper
Soak time is where most DIYers give up too early. Spraying once, waiting two minutes, and pulling is not enough for most paper-backed papers. Give the first application 10 to 15 minutes, then test a corner.
Thick or multi-layer paper can need 20 to 30 minutes of total dwell time, applied in two or three passes. Re-wetting beats pulling harder; if the paper is dry to the touch when you scrape, it has not soaked long enough.
Removing Without Scoring When the Paper Allows It
Some papers are thin or strippable, so you can skip scoring. Test a hidden spot: apply hot water, wait about 10 minutes, then try to lift an edge. If it peels in a clean sheet, continue without scoring; if it tears or leaves a thin layer behind, stop and score the wall.
Water vs. Steamer vs. Chemical Remover
Use this comparison to pick a method rather than defaulting to the one you read about first.
- Hot water and soap: Best for paper-backed wallpaper on drywall or plaster, single layer, moderate adhesive. Lowest cost, slowest on stubborn paper, and safest for old plaster because it does not drive heat into the substrate.
- Commercial remover: Best when the paper has been painted over, when adhesive is old and gummy, or when a homemade mix has failed. Higher cost per room, but it can save hours on difficult paper.
- Steamer: Best for multiple layers, thick paper, or vinyl-coated paper that resists soaking. Fastest on stubborn paper, but the highest risk of softening drywall paper or old plaster if the plate is held too long in one spot.
A practical sequence for most rooms: test strippable vinyl with hot water first, move to a scored soak with soap or fabric softener for paper-backed paper, and reserve the steamer or chemical remover for sections that resist both.
When a Wallpaper Steamer Is the Better Choice
A wallpaper steamer heats the paper and the adhesive at the same time, often working faster than soaking and handling thick or stubborn papers better than a spray solution.
Steamers can soften old plaster and drywall paper if you hold the plate in one place too long.
Rent or buy a steamer only if your wall needs it. For a single small room with strippable paper, a sprayer and hot water usually work fine.
Scraping Safely and Troubleshooting Damage and Adhesive Residue
Scraping is where most wall damage happens. If you have gouged the surface, see how to fix nail pops in drywall for patching and blending.
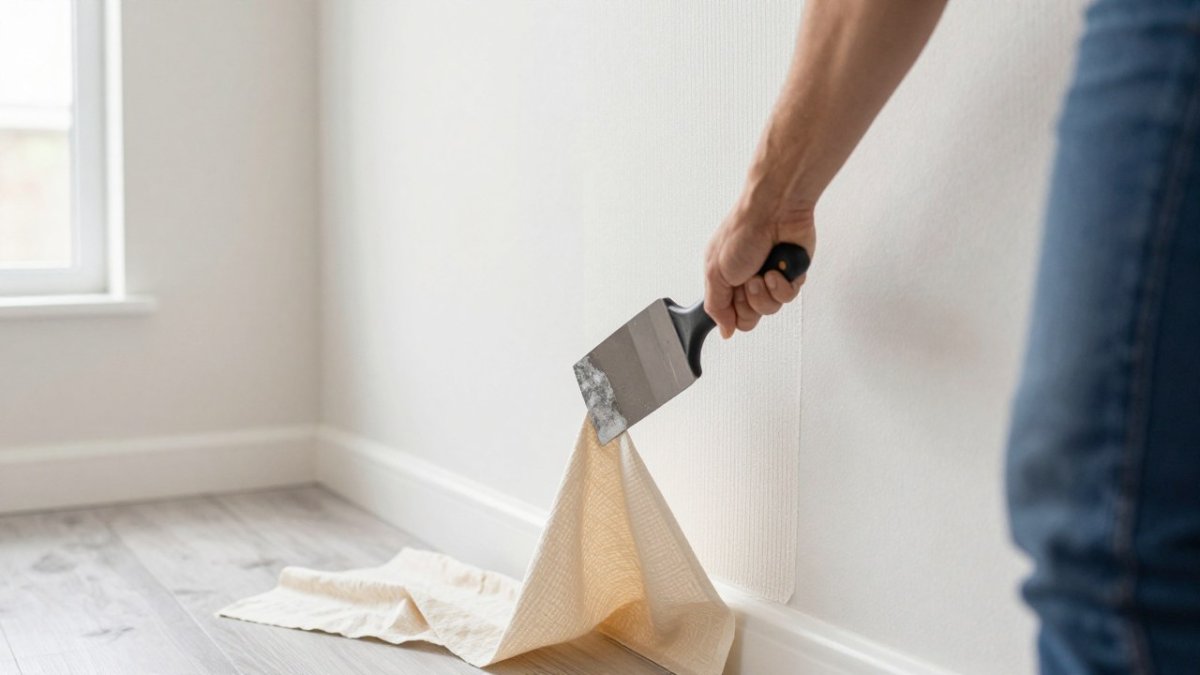
If the paper will not come off, add more solution instead of more force. Soak the area again and wait a few minutes.
Common problems include:
- Gouges in drywall: Fill with joint compound once the wall is dry, then sand smooth.
- Torn paper facing: Remove the loose piece gently with more water and let the wall dry before patching.
- Sticky adhesive residue: Wash with warm water and a mild cleaner; stubborn residue may need a commercial adhesive remover.
Let the wall dry fully before you paint or patch. Wet drywall can crumble and show stains later.
Watch out: Never use a steamer or a lot of water near outlets, light fixtures or switches. Keep electrical areas dry and covered.
How to Prepare Walls After Wallpaper Removal
Once the paper is off, the wall needs cleaning, repair, and a realistic plan for time and cleanup. Many paint problems start here, so do not rush it.
Clean the Wall and Remove Adhesive Residue
Wash the wall with warm water and a mild detergent to remove the last of the glue. A sponge or microfiber cloth lifts residue better than a rag, which smears it.
Sticky adhesive residue is the most common complaint after removal. Warm water and a mild cleaner handle light residue. Stubborn paste may need a commercial adhesive remover or a second pass with a wallpaper remover solution.
Inspect and Repair the Surface
Inspect the surface under a bright light for dents, cracks, gouges, torn drywall paper, and loose areas. Run your hand over the wall; rough spots will show through paint.
- Small holes and gouges: Fill with joint compound, let it dry, and sand smooth. Two thin coats are better than one thick coat.
- Torn drywall paper: Do not pull the loose facing. Seal it with a primer or a patching product made for torn drywall paper, then skim with joint compound. Pulling the facing exposes the gypsum core and creates a bigger repair.
- Cracks in plaster: Open the crack slightly, fill with patching compound, and sand flush once dry. If cracks keep returning, see how to repair drywall cracks that keep coming back.
Sand smooth once dry, wipe away dust with a damp cloth, and prime before painting.
Watch out: Do not paint over adhesive residue or patched areas without priming. The paint may fail to adhere or show a different sheen over the repair.
Realistic Time Estimates
Time depends on wallpaper type, wall condition, and room size. These are typical ranges for a single DIYer, not guarantees.
- Small room (about 10 by 10 feet), strippable vinyl: 3 to 5 hours for removal, plus 1 to 2 hours for cleanup and patching.
- Small room, paper-backed wallpaper: 6 to 10 hours for removal, often split across two days, plus 2 to 3 hours for cleanup and patching.
- Medium room (about 12 by 12 feet), single layer: 8 to 12 hours for removal, plus 3 to 4 hours for cleanup and patching.
Add drying time: at least 24 hours after washing, and longer for patching compound between coats. Plan on one room per weekend for a single layer, and two weekends for multiple layers or damaged walls.
Supply Costs to Expect
For a single small room with strippable paper, the water-and-scraper route usually costs under $50 in supplies. For a full room with stubborn paper, budget $75 to $150 in supplies, plus steamer rental if needed.
Cleanup and Disposal
Wallpaper waste adds up. A 12-by-12 room with one layer can produce several large trash bags of paper and backing. Most municipal trash services accept wallpaper in regular household trash, but check local rules for large volumes.
Protect floors and furniture until the job is done. Wet paper scraps and adhesive drips are slippery on hard floors and can stain carpet.
When to Stop and Hire a Professional
Some jobs are worth handing off. Consider calling a pro if you find extensive wall damage, three or more layers of wallpaper, wallpaper applied directly to unprimed drywall, or suspected hazardous materials in older paper.
Once the paper is off, the wall needs cleaning, repair, and a realistic plan for time and cleanup. Here are the typical time ranges for a single DIYer.
| Scenario | Removal time | Note |
|---|---|---|
| Small room, strippable vinyl | 3 to 5 hours | Plus 1 to 2 hours cleanup and patching |
| Small room, paper-backed | 6 to 10 hours | Often split across two days |
| Medium room, single layer | 8 to 12 hours | Plus 3 to 4 hours cleanup and patching |
| Multiple layers or painted-over | 12 to 20+ hours | Extra repair time for wall damage |
Removal time by scenario (hours)
Booking Help for a Full Wallpaper Removal and Repaint With Always Pro Painters
Removing wallpaper is a big job, and it is easy to damage walls if you rush. If you would rather hand it off, Always Pro Painters handles wallpaper removal, surface preparation and the repaint as one project. Our specialty finishes and wallpaper work are described on our wallpaper and specialty page, and you can compare the options before you commit on our alternatives to painting over wallpaper guide.
Frequently Asked Questions
What is the easiest way to get old wallpaper off?
For most homes, the easiest method is to test for strippable paper first. If the top layer peels off in a dry corner, pull it off by hand. If it resists, score the surface with a scoring tool, spray it with warm water or a diluted wallpaper remover, let it soak for 10 to 15 minutes, then scrape gently with a putty knife. Work in small sections so the paper stays wet while you remove it. Cheap tools from a hardware store are usually enough for a single room, and the process goes faster once you have a rhythm.
How long should you soak wallpaper before removing it?
Most wallpaper needs 10 to 15 minutes of soak time after the water or solution has been applied, though thick or multi-layer paper can need longer. Check a small section with a putty knife: if the paper lifts cleanly with light pressure, it is ready. If it still tears or resists, spray again and wait a few more minutes. Soaking too long can soften drywall paper, so work in sections and keep the wall damp rather than flooded.
Can you remove wallpaper without scoring it?
Yes, but only if the wallpaper has a vinyl or coated surface that lets moisture soak through the seams and edges, or if it is strippable paper that peels when you lift a corner. Paper with a sealed, non-porous top layer usually needs scoring so the solution can reach the adhesive. Test one corner first. If the solution beads up and does not penetrate after a few minutes, score the surface before continuing.
Is it safe to remove old wallpaper?
Removing wallpaper itself is generally safe, but older homes can bring added risks. Paper and paste from before the 1970s can contain lead or other materials, and plaster can crumble when soaked. Keep electrical outlets and switches covered or switched off at the breaker, wear eye protection and gloves, and ventilate the room. If you suspect lead or find extensive plaster damage, pause and consult a qualified professional before you continue.