 How-to
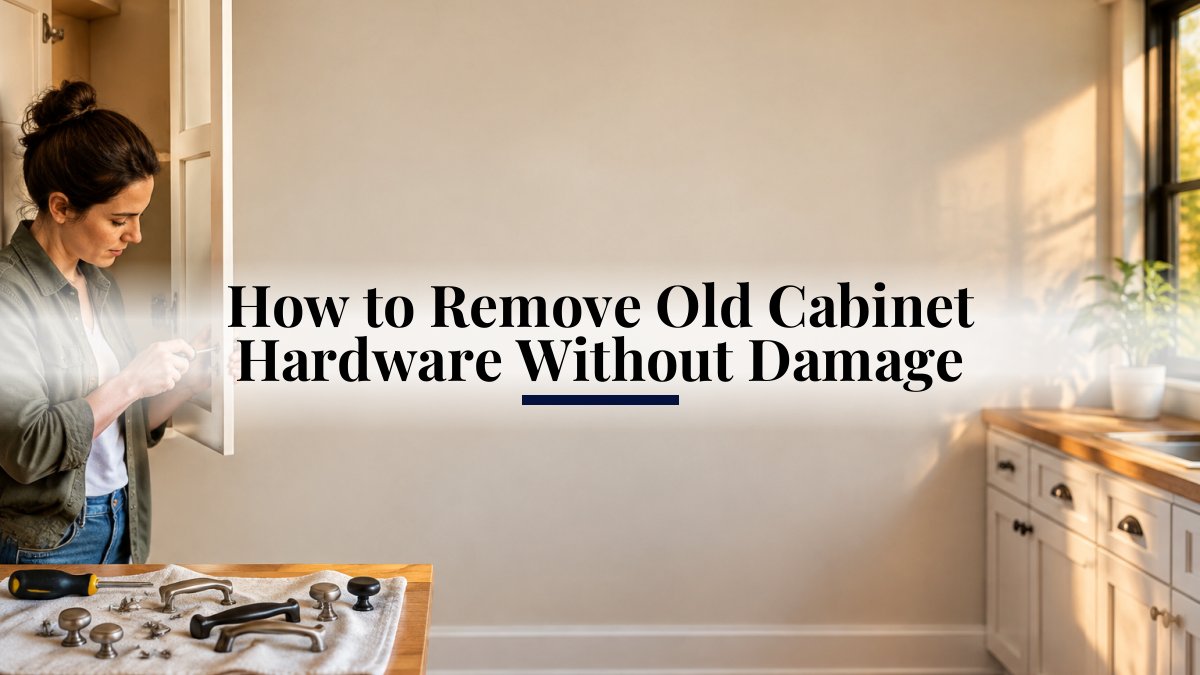
How to Remove Old Cabinet Hardware Without Damage
Last Updated: November 6, 2026
Quick Summary
To remove old cabinet hardware without damage, open the door or drawer, hold the knob steady, and turn the screw counterclockwise with a snug-fitting screwdriver while supporting the piece as it loosens. Score any paint line first and use a plastic putty knife, never a metal tool, on finished doors.
- Removing a knob or pull takes about two minutes per piece with steady pressure and the right bit size.
- A loose bit is the number-one cause of a stripped screw head, so use the largest bit that seats fully.
- A hair dryer on low held 6 to 8 inches away for 30 to 60 seconds softens paint and adhesives.
- Tape around the hardware with painter's tape to cushion slips and keep the screwdriver straight.
- Fill unused screw holes with color-matched wood filler, overfill slightly, then sand smooth with fine grit.
Table of Contents
- Tools for Removing Cabinet Hardware
- How to Remove Knobs and Pulls Step by Step
- How to Remove Stuck Cabinet Screws
- How to Remove Painted-Over Cabinet Hardware
- Protecting Doors, Drawer Fronts, and Fine Finishes
- How to Repair Marks Left by Cabinet Hardware
- Replacing Hardware and Planning Your Cabinet Refresh
- Frequently Asked Questions
Tools for Removing Cabinet Hardware
Removing old cabinet hardware is a straightforward job, provided you have the right tools on hand before you start. The right tool list saves hours of frustration.
Here is what you need:
- Screwdriver set. Both Phillips and flathead, in several sizes. A bit that fits the screw head snugly prevents stripping.
- Electric screwdriver. Speeds up a full kitchen's worth of pulls, but use it on low torque.
- Plastic putty knife. For prying backplates and loosening painted-over hardware without gouging the wood.
A damaged screwdriver tip is the most common cause of stripped screws. Check your bits before you start.
How to Remove Knobs and Pulls Step by Step
Removing a knob or pull takes about two minutes per piece. The key is steady pressure and the right bit size, so the screw turns cleanly instead of rounding out.
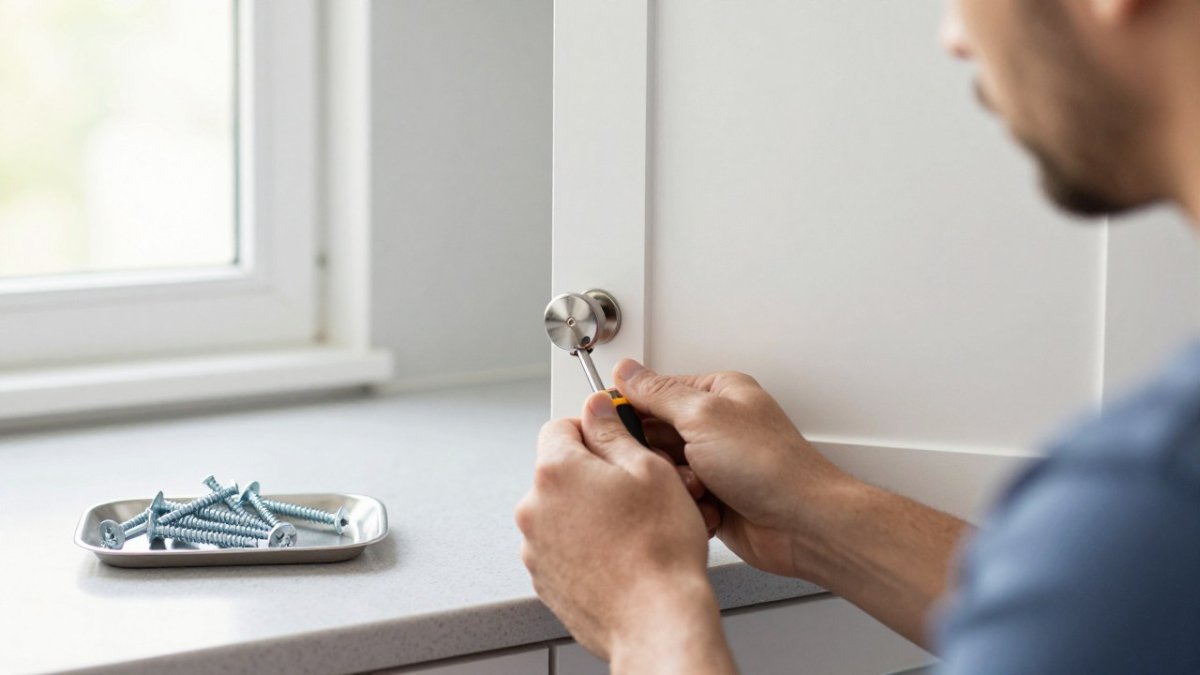
- Open the door or pull out the drawer. This gives you clear access to both sides of the hardware.
- Find the screw on the back. Knobs usually have one screw through the door; pulls have two.
- Hold the knob steady with one hand while you turn the screw with the other.
- Turn counterclockwise with steady pressure. Let the screwdriver do the work; don't force it.
- Support the hardware as it loosens so it doesn't drop and scratch the cabinet face.
- Set screws in your tray and label which cabinet they came from.
For pulls, remove one screw at a time and keep the pull supported until both are out. A dropped pull can nick a finished door front.
Finding Hidden Fasteners, Clips, and Adhesive
Not every piece of hardware has a visible screw. Some knobs and pulls hide their fasteners behind a cap, a clip, or a dab of adhesive.
Look for these signs:
- A small cap or plug on the front of the knob that pops off to reveal a screw.
- A clip or bracket behind the hardware holding it to the door.
- Adhesive residue around the base, common on decorative backplates.
For a cap, work a plastic putty knife under the edge and lift gently. For adhesive, warm the area slightly with a hair dryer, then slide the putty knife under the base. Never pry with a metal tool on a finished door; it will leave a mark.
How to Remove Stuck Cabinet Screws
A stuck screw is the most common snag in this job, and forcing it is how cabinet doors get scratched and screw heads get stripped. The fix depends on why the screw is stuck, so diagnose before you reach for a drill. Work through the sequence below in order; each step is lower-risk than the one after it.
Step 1: Confirm the bit fit
A loose bit is the number-one cause of a stripped head. Switch to the largest bit that seats fully into the slot, then push straight in before turning. On a Phillips head, the bit should fill the cross completely; on a flathead, the blade should match the slot width, not sit narrow inside it.
Step 2: Add downward pressure and turn slowly
Push firmly into the screw while turning counterclockwise at low speed. Downward pressure keeps the bit seated and transfers torque to the threads instead of the head. If you are using an electric screwdriver, drop it to its lowest torque setting or switch to a manual driver for this step.
Step 3: Break the bond
Paint, clear finish, and light corrosion all act like thread-locking compound. Score the paint line around the screw head with a utility knife, then tap the screwdriver handle lightly with the heel of your hand to crack the seal. A drop of vinegar left on the head for a few minutes softens light rust; wipe it off before turning so it does not run onto the cabinet finish.
Step 4: Try heat, not force
A hair dryer on low, held 6 to 8 inches from the screw for 30 to 60 seconds, softens paint and some adhesives without bubbling most cabinet finishes. Keep heat moving and never use a heat gun on laminate or thermofoil, which can delaminate. On painted wood, test in a hidden spot first.
Step 5: Escalate to grip tools
If the head is rounded, switch to needle-nose pliers or locking pliers and grip the outside of the head, then turn the whole screw out. For a screw with a partially stripped slot, a rubber band laid over the head can give the bit extra grip. A screw extractor bit is the next step up; follow the bit manufacturer's size chart rather than guessing.
Step 6: Drill only as a last resort
If the head is fully stripped and the screw will not budge, a small drill bit can remove the head so the hardware lifts off.
Watch out: forcing a screw with the wrong bit is how heads strip and doors get scratched. Stop and switch tools rather than push harder.
Work through these steps in order, since each one is lower-risk than the step after it.
| Step | What to do | Note |
|---|---|---|
| 1. Confirm bit fit | Use the largest bit that seats fully | Loose bit is number-one cause of stripped heads |
| 2. Add pressure | Push down firmly, turn counterclockwise slowly | Drop electric screwdriver to lowest torque |
| 3. Break the bond | Score paint line, tap handle, vinegar on rust | Wipe vinegar off before turning |
| 4. Try heat | Hair dryer on low, 6 to 8 inches, 30 to 60 seconds | Never use a heat gun on laminate or thermofoil |
| 5. Grip tools | Needle-nose or locking pliers, rubber band, extractor bit | Follow bit maker's size chart |
| 6. Drill last | Small drill bit removes the head | Hand to a pro if unsure |
How to Remove Painted-Over Cabinet Hardware
Painted-over hardware needs patience, not force. The paint has bonded the hardware to the cabinet, and prying hard will chip the surrounding finish.
Score the paint line first. Run a sharp utility knife around the base of the knob or pull, cutting through the paint film.
Then:
- Slide a plastic putty knife under the base and work around the edge with gentle pressure.
- Apply a little warmth with a hair dryer to soften the paint.
- Turn the screw as normal once the paint seal is broken.
If the hardware was painted over during a previous refinish, expect a paint ring on the door.
Protecting Doors, Drawer Fronts, and Fine Finishes
The finish on your cabinet doors is thin, and a slipped screwdriver leaves a mark in a second. A few habits prevent most damage.
- Tape around the hardware with painter's tape to cushion slips.
- Keep the screwdriver straight. Angled pressure is what causes slips.
- Support the door so it doesn't swing while you work.
Different cabinet materials need different care. On painted wood, go slow near edges where paint chips easily. On stained or natural wood, avoid metal tools entirely; use plastic only. On laminate or thermofoil, keep heat away, since a hair dryer can bubble the surface.
How to Repair Marks Left by Cabinet Hardware
Old hardware leaves three kinds of marks: screw holes, paint or finish outlines, and small scratches. Each has a simple fix, but the order matters. Repair before you refinish, and test every product in a hidden spot first.
Screw holes
For holes you will not reuse, fill with a wood filler matched to the door color. Press the filler in with a plastic putty knife, overfill slightly, and let it cure per the label. Sand smooth with a fine-grit block, then touch up with matching paint or stain. For holes you plan to reuse, do not fill them; the new hardware will cover them.
Paint and finish outlines
A ring where the old hardware sat is normal, especially after a previous refinish. Lightly scuff the outline with fine sandpaper, feather the edges, and repaint the area with a small foam brush. On stained wood, a touch-up pen matched to the stain blends the ring away. On painted cabinets, a dab of matching paint applied with a small artist's brush hides the outline without repainting the whole door.
Scratches and scuffs
Small scratches on stained wood respond well to a touch-up pen matched to the stain. On painted cabinets, a light spot sanding and a dab of matching paint blends the mark away. Test any touch-up product in a hidden spot first, because sheen and color can vary between cans and batches.
Adhesive residue
Warm water and a soft cloth remove most adhesive residue. Avoid harsh solvents on painted, laminate, and thermofoil surfaces, which can dull or bubble the finish. For stubborn residue, warm the area with a hair dryer on low and wipe with a cloth dampened with mild dish soap.
Watch out: overfilling a hole and sanding back too aggressively can burn through the door's finish. Fill in thin layers and sand lightly.
Replacing Hardware and Planning Your Cabinet Refresh
Once the old hardware is off, you have a clean slate. This is the moment to decide whether you're doing a simple hardware swap or a full cabinet refresh.
A hardware swap is the fastest upgrade.
If you're going further, our guide on the best way to paint kitchen cabinets walks through the full process. For a step-by-step paint job, see 8 steps to a perfect cabinet paint job. Read alternatives to full cabinet replacement and whether professional cabinet refinishing is worth it. And if budget is the deciding factor, our painting cabinets vs replacing cost guide breaks it down.
Get a free estimate and we'll map out your cabinet refresh from start to finish.
Removing old cabinet hardware is a job you can do yourself with the right tools and a steady hand.
Frequently Asked Questions
How do you remove cabinet hardware without damaging the cabinet?
Support the door or drawer front with one hand while you turn the screwdriver with the other, and stop turning the moment the screw breaks free. Slip a plastic putty knife under any backplate before you pry, so the metal lifts off the finish instead of scraping it. Keep the screwdriver bit fully seated in the screw head to avoid slipping, and set removed cabinet hardware on a soft cloth rather than a bare counter.
What tools do you need to remove old cabinet hardware?
A manual screwdriver in the correct tip size handles most jobs, with an electric screwdriver useful for long runs of matching knobs. Add a plastic putty knife for backplates and adhesive, a utility knife for paint bridges, and a small container for screws. For stuck or stripped fasteners, keep penetrating oil, a rubber band, and locking pliers on hand. Skip the drill for removal; it strips heads faster than it saves time.
How do you remove a cabinet pull when you cannot find the screws?
Check the underside of the pull and the inside face of the door or drawer front first, since many pulls mount from the back. If nothing shows, the fastener is likely hidden under a cap, a wooden plug, or a layer of paint. Probe the surface with a plastic card, then cut away paint over the suspected screw slot with a utility knife. Adhesive-mounted pulls release with gentle heat from a hair dryer and a plastic putty knife.
How do you fix marks left by old cabinet knobs or pulls?
Clean the area with warm water and a drop of dish soap, then scrub light scuffs with fine steel wool. Dark outlines from years of hand contact usually lift with a vinegar and water wipe. Deeper dents need a thin bead of wood filler pressed flat and sanded smooth once dry. If the finish itself has faded around the hardware, spot sanding and a fresh coat of paint on the door face blends the repair.