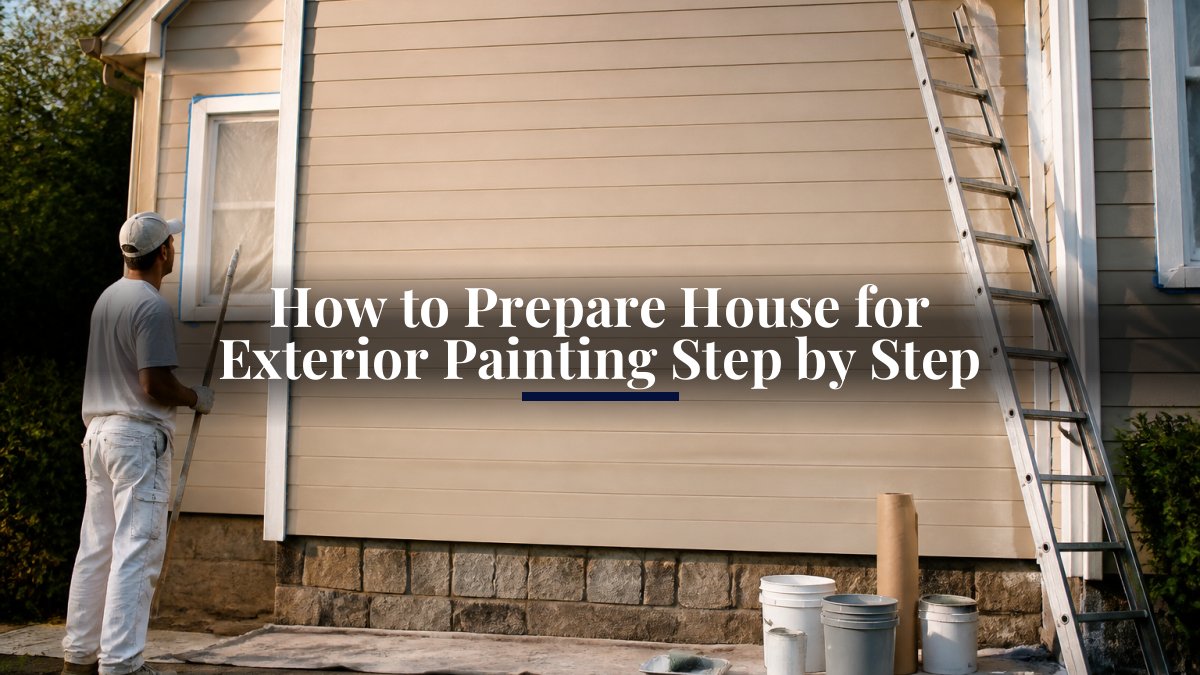
 how-to
How to Ensure Quality Surface Preparation
Table of Contents
- Why Surface Preparation Determines Coating Success
- How to Properly Prep Walls for Painting
- Tools Needed for Professional Surface Preparation
- How Long Does Surface Preparation Take
- Common Surface Preparation Mistakes to Avoid
- Meeting Industrial Standards and Quality Benchmarks
- Frequently Asked Questions
Last Updated: September 21, 2026
Why Surface Preparation Determines Coating Success
The difference between a paint job that lasts five years and one that lasts fifteen comes down to one thing: surface preparation. Most homeowners don't realize this until the paint starts peeling.
A wall that looks clean to the naked eye might harbor dust, oils, rust, or loose material. These contaminants prevent proper adhesion, causing coating failure.
Professional painters spend a significant portion of project time on prep work because the paint itself is almost an afterthought once the surface is ready.
Surface preparation creates mechanical adhesion, removes contaminants, establishes surface profile, and prevents premature failure. Poor prep leads to defects and callbacks; good prep delivers lasting finishes.
How to Properly Prep Walls for Painting
Professional surface preparation follows a structured process. Each step builds on the last. Skip one and the whole system breaks down.
Assessment and Planning
Inspect for existing paint condition (peeling, chalking, glossy), substrate type, visible damage, and contamination. Assessment determines your prep method and prevents mid-project surprises.
Cleaning and Degreasing
Remove dust with HEPA vacuum, oils with TSP solution, mold with bleach, and salt with fresh water rinse. Allow complete drying before proceeding. Chemical pretreatment removes oxidation on metal; mechanical cleaning works on drywall and plaster.
Sanding and Surface Profiling
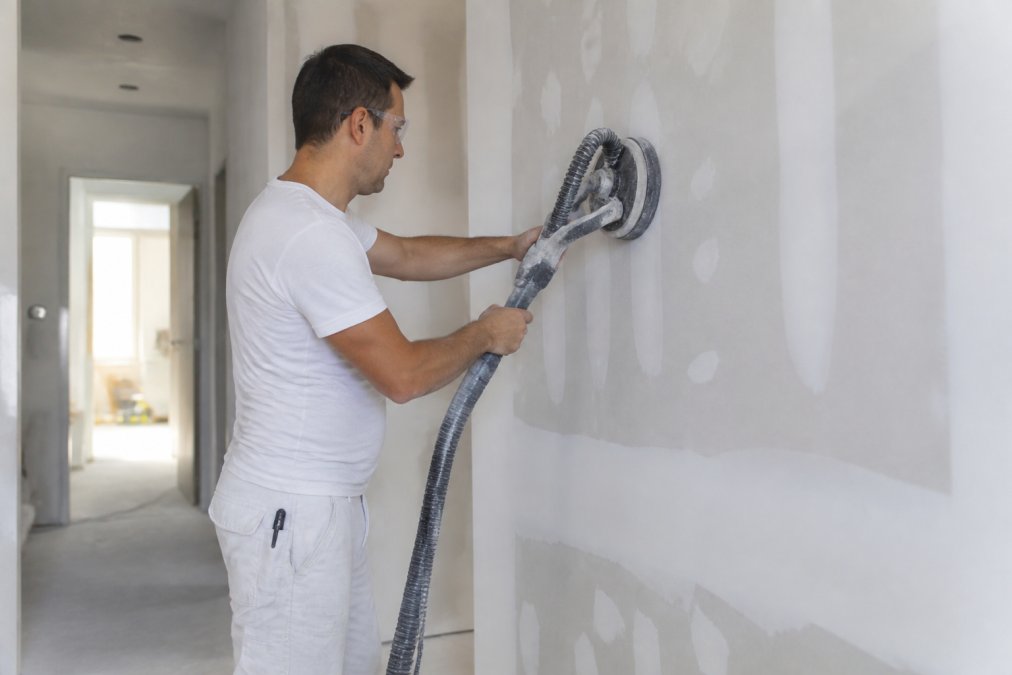
Dull glossy surfaces with 120-150 grit sandpaper. Fill holes and cracks with spackling compound, then sand smooth. Surface profile should be moderately textured for mechanical adhesion. Use orbital sanders for large areas, detail sanders for corners, and hand tools for small areas or delicate surfaces.
Final Inspection Before Coating
Before coating, verify all dust is removed with a tack cloth, repairs are smooth and flush, surface is uniform, and no contamination remains. Ensure temperature is 50-85°F and humidity is 35-85% relative humidity, as cold or damp conditions slow curing and affect adhesion.
Tools Needed for Professional Surface Preparation
Manual Tools: Putty knives ($5-$20) remove loose paint; sanding blocks ($3-$15) provide control on detail work; wire brushes ($4-$25) remove rust from metal; tack cloths ($2-$5) remove final dust. Manual tools excel on small areas and delicate surfaces but are slower on large areas.
Power Tools: Orbital sanders ($80-$300, rental $15-$30/day) handle large flat areas; detail sanders ($60-$200, rental $10-$20/day) reach corners; rotary grinders ($40-$150, rental $10-$25/day) remove heavy rust; needle guns ($200-$600, rental $20-$40/day) work on structural steel; HEPA vacuums ($150-$400) control dust. Power tools accelerate work and deliver uniform profile but require skill and safety discipline.
Manual vs. Power: Decision Framework
Choose based on surface area, condition, and substrate:
| Scenario | Recommended Tool | Reason |
|---|---|---|
| Small room (under 100 sq ft), light prep | Manual sanding block + wire brush | Cost-effective; minimal dust; sufficient control |
| Standard room (100-300 sq ft), moderate prep | Orbital sander + detail sander | Balances speed and quality; uniform profile |
| Large area (300+ sq ft) or heavy rust/coating | Orbital sander + rotary grinder or needle gun | Power tools justify rental cost; consistent results |
| Metal with heavy rust or mill scale | Rotary grinder or abrasive blasting | Manual tools too slow; power tools necessary for profile |
| Final detail work on any surface | Manual sanding block + tack cloth | Precision and dust control |
Proper PPE is essential: P100 respirators for heavy sanding, N95 masks for light dust, safety glasses, work gloves, and hearing protection when power tools exceed 85 decibels. OSHA mandates respiratory protection when dust exceeds permissible exposure limits.
Maintain tools properly: dull sanding pads cause uneven profile; clogged HEPA filters leave dust; bent scrapers gouge substrates. For one-time projects, rental is economical; for ongoing work, purchase pays off within a reasonable number of uses.
How Long Does Surface Preparation Take
Time varies by condition and surface area. Plan accordingly.
Light prep: 2-3.5 hours. Medium prep: 5-6.5 hours. Heavy prep: 10-13 hours. A crew of two cuts time significantly. Surface condition is the biggest time variable. Don't rush prep, it's invested in coating durability.
Common Surface Preparation Mistakes to Avoid
Mistake 1: Skipping Assessment, Wrong prep methods cause adhesion failure. Use chalk test (rub surface; white powder indicates chalking), gloss test (shiny surfaces need scuffing), adhesion test (scrape with putty knife to check if old paint flakes), and substrate identification (tap wall to distinguish drywall, plaster, metal, or wood). Diagnosis prevents rework.
Mistake 2: Leaving Dust Behind, Dust embeds in wet paint and weakens adhesion. Use flashlight inspection (dust visible as haze), tactile inspection (surface should feel smooth, not gritty), and tack cloth test (repeat until cloth comes away clean). Vacuum with HEPA filter, use tack cloth, wait 15 minutes, and inspect again before coating.
Mistake 3: Inadequate Surface Profile, Smooth ≠ slick; surface should feel slightly rough. Use touch test (should feel gritty like fine sandpaper), gloss check (matte appearance, not sheen), and profile depth measurement (visible anchor pattern for paint grip). Sand again with 120-150 grit paper if needed.
Mistake 4: Ignoring Moisture, Damp surfaces cause blistering, peeling, and adhesion failure. Use moisture meter (substrate should be below 12% relative humidity) or plastic sheet test (tape for 24 hours; moisture beads indicate dampness). Allow 24-48 hours dry time after water-based cleaning, or 72+ hours in humid weather. Never paint over damp substrate.
Mistake 5: Wrong Repair Materials, Use correct product for substrate. Check adhesion (press with fingernail; should be hard and firmly bonded), smoothness (flush with surrounding surface), and shrinkage (apply second coat if recessed). Follow cure time per manufacturer instructions and sand smooth.
Mistake 6: Inadequate Degreasing
What happens: Kitchen walls, bathrooms, and industrial surfaces accumulate grease, soap residue, and oils. Water alone won't remove it. Paint won't adhere to greasy surfaces, resulting in peeling and failure.
Root cause: Assuming dust removal is the same as contaminant removal. Grease is invisible when dry but prevents adhesion.
How to diagnose before coating:
- Water beading test: Spray water on the surface. If water beads up and doesn't wet the surface, grease is present. If water spreads evenly, the surface is clean.
- Grease test: Wipe the surface with a clean white cloth. If the cloth shows residue or discoloration, degreasing is needed.
- Smell test: Kitchens and bathrooms often have a distinctive odor from accumulated grease. If you smell it, the surface needs chemical cleaning.
Recovery: Use a degreasing solvent (TSP, trisodium phosphate, or commercial degreaser). Follow product instructions for dilution and contact time. Scrub with a brush. Rinse thoroughly. Allow to dry completely. Inspect again with the water beading test.
Mistake 7: Mixing Prep Methods Without Sequencing
What happens: Mechanical cleaning (sanding, grinding) creates dust. Chemical cleaning (degreasing, rust removal) creates moisture. Overlapping these processes leaves dust embedded in wet degreaser or moisture trapped under sanding dust. The result is poor adhesion and finish defects.
Root cause: Trying to speed up the process by doing multiple steps simultaneously.
How to diagnose before coating:
- Dust and moisture check: After completing all prep steps, inspect the surface for both dust and dampness. It should be dry and clean.
- Timeline review: Ensure each phase fully completes before the next begins. Chemical cleaning → dry time → mechanical cleaning → dust removal → final inspection.
Recovery: Restart the sequence in the correct order.
Mistake 8: Applying Coating in Poor Environmental Conditions
How to diagnose before coating:
- Temperature check: Most coatings require 50-85°F. Check the product label. Cold temperatures slow curing and reduce adhesion.
- Humidity check: Most coatings work best at 35-85% relative humidity. High humidity (above 85%) slows drying and can cause blistering. Low humidity (below 35%) can cause fast drying and adhesion issues.
- Dew point check: Never paint when the surface temperature is below the dew point. Condensation will form on the surface, preventing adhesion. Use a dew point calculator or thermometer.
Quality Assurance Checklist Before Coating
- Surface assessed and substrate identified
- Existing coating condition tested (chalk, gloss, adhesion)
- All contaminants removed (dust, grease, rust, mold)
- Surface profile adequate (slightly rough to touch, matte appearance)
- Moisture content below acceptable threshold (checked with meter or plastic sheet test)
- Repairs cured, smooth, and firmly bonded
- Final dust removal completed (tack cloth, vacuum)
- Temperature and humidity within acceptable range
- Dew point verified (surface won't condense)
- All tools and equipment in good condition
Meeting Industrial Standards and Quality Benchmarks
Professional surface preparation follows established standards. These guidelines exist because they produce reliable results.
Frequently Asked Questions
What are the most effective methods of surface preparation?
The three primary methods are mechanical cleaning (sanding, grinding, power tool cleaning), chemical pretreatment (solvent cleaning, degreasing), and abrasive blasting. Mechanical cleaning removes loose paint and creates surface profile for adhesion. Chemical methods eliminate oils and contaminants that prevent coating adhesion. Abrasive blasting provides aggressive surface profiling for industrial applications. Most residential projects combine mechanical and chemical methods for optimal coating performance and durability.
How do you know if a surface is ready for painting?
A properly prepared surface should be clean, dry, and free of contaminants like dust, oil, and rust. The surface profile should be visible, typically a dull, slightly rough texture rather than shiny. Run a cloth over the surface; it should not pick up dust or residue. Check moisture levels with a moisture meter if available. Visual inspection should reveal no loose paint, chalking, or debris. If the surface still feels slick or greasy after cleaning, additional degreasing is needed before coating application.
What happens if surface preparation is skipped or done poorly?
Poor surface preparation leads to coating failure, including peeling, flaking, blistering, and reduced corrosion resistance. Paint cannot adhere properly to contaminated, oily, or glossy surfaces, causing premature failure within months. Inadequate surface profile prevents mechanical anchoring of the coating. Dust and contaminants trapped under the finish create weak points and visible defects. These failures increase long-term costs through frequent repainting and potential substrate damage. Quality surface preparation is the foundation of coating longevity and finish quality.
How does dust management affect the final paint finish?
Dust contamination during and after surface preparation significantly impacts coating quality. Airborne particles settle on the prepared surface and become trapped under wet paint, creating visible bumps, rough texture, and reduced gloss. Dust also reduces adhesion by creating a barrier between the coating and substrate. Proper dust management includes containing prep work, using dust collection equipment, allowing adequate settling time before coating, and maintaining a clean environment. Professional-grade preparation includes thorough cleanup and often tack cloths or vacuum systems to eliminate dust before painting begins.