 Ultimate guide
7 Reasons Professional Painters Always Use Primer
Quick Summary
Professional painters use a professional painters primer because it seals the surface so paint absorbs evenly, gives the topcoat something to grip, and blocks stains and colors from bleeding through. It turns patched or porous walls into a uniform surface so the finish color looks consistent and lasts longer.
- Primer seals porous surfaces like bare drywall and joint compound so the topcoat dries evenly.
- A stain-blocking primer stops old dark colors from bleeding through a light topcoat in one application.
- Water-based latex primer suits interior drywall and previously painted walls because it dries fast.
- Shellac-based primer seals water stains, smoke damage and ink in one coat and dries in under an hour.
- Latex primers typically need two to four hours before topcoat; oil-based primers often need overnight.
Table of Contents
- What Primer Actually Does Before You Paint
- Why Professional Painters Use Primer on Nearly Every Job
- Do You Need to Use Primer When Painting Over Paint?
- Types of Paint Primer and Which Surface Needs Which
- How Long Does Primer Take to Dry Before Topcoat?
- Troubleshooting Primer Failure and Common Mistakes
- Booking a Primer and Prep Assessment for Your Chicago-Area Home
- Frequently Asked Questions
What Primer Actually Does Before You Paint
A professional painters primer is the coat that goes on before your color, and it does three jobs that a topcoat cannot do on its own. It seals the surface so it absorbs paint evenly, it gives the topcoat something to grip, and it blocks stains and colors that would otherwise bleed through. Professional painters treat primer as part of the paint system, not an optional extra.
Think of it as the foundation under the finish. Bare drywall, patched areas and fresh joint compound soak up paint at different rates, which is why a single coat often looks blotchy. A primer equalizes that porosity, so the color you choose goes on uniformly and holds its sheen across the wall.
Why Professional Painters Use Primer on Nearly Every Job
Most professional painters prime almost every job because a professional painters primer changes the result more than any other single step. Primer is what turns a patched wall into one continuous surface, and it stops the new color from reacting with whatever was there before.
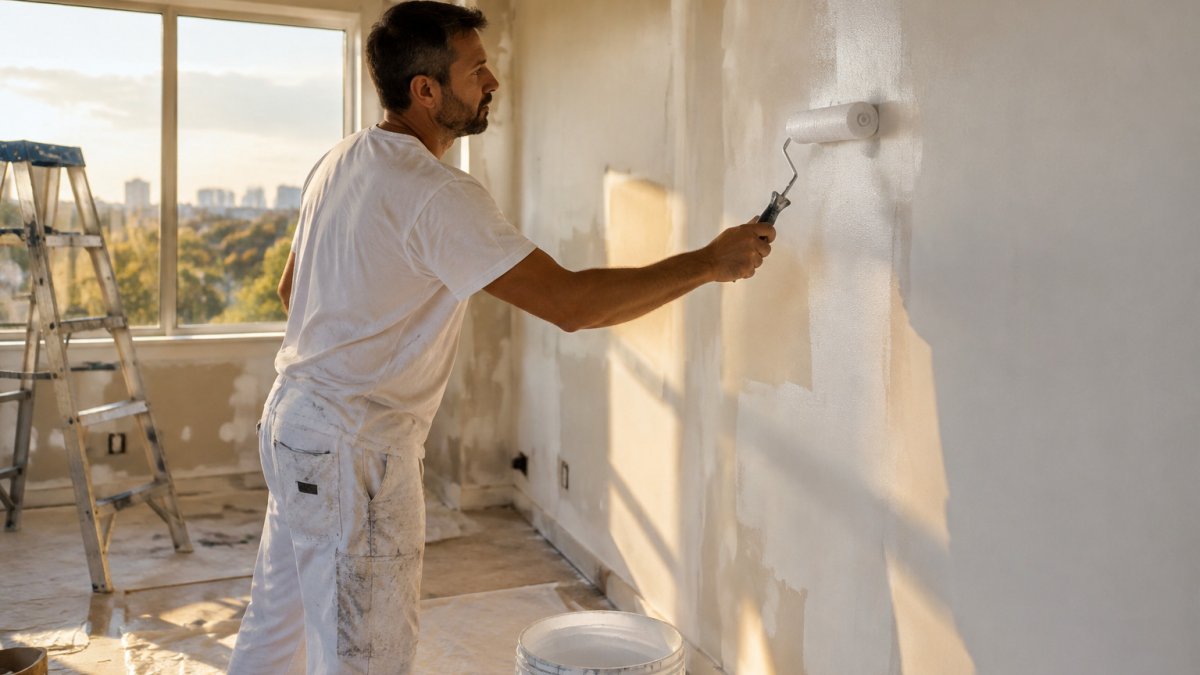
Priming also protects the topcoat's lifespan. A finish that bonds properly to a sealed surface resists peeling and scuffing better than paint applied straight over raw or uneven material.
Do You Need to Use Primer When Painting Over Paint?
Not always, but more often than homeowners expect. If the existing paint is in good condition and you are switching to a similar color, a quality topcoat sometimes works without primer. Dark-to-light changes, glossy surfaces and any area with stains usually need it.
Do you need to use primer when painting over paint? The honest answer is that it depends on the old finish, the new color and the condition of the wall.
Priming New Drywall and Bare Surfaces
New drywall and bare joint compound are the clearest case for primer. Both are highly absorbent, so without a sealing coat the finish paint dries unevenly and shows flashing, the dull patches that appear where the surface soaked up more paint.
Prime new drywall fully, including the taped seams, before any color goes on. Our drywall repair guide covers assessing damage, making repairs and preparing a smooth surface for paint.
Priming Over Existing Colors and Glossy Finishes
Covering a dark color with a light one is where primer earns its cost. Without it, the old shade can bleed through and force extra coats of topcoat that never fully hide it. Stain-blocking primers stop that bleed in a single application.
Glossy surfaces present the opposite problem: the paint has little to grip. A bonding primer gives the new coat a surface to adhere to, which is the difference between a finish that lasts and one that lifts at the edges.
Types of Paint Primer and Which Surface Needs Which
Choosing the right primer matters as much as deciding to use one. The three families professionals reach for most are water-based latex, oil-based alkyd, and shellac-based primer, and each behaves differently enough that matching the primer to the substrate is what determines whether the topcoat bonds or fails.
Water-based latex primer is the default for interior drywall, previously painted walls and most ceiling work. It dries fast, cleans up with soap and water, has low odor, and lets you recoat in a few hours. It is the wrong choice over tannin-rich woods like cedar or redwood, because waterborne primers can let the tannins bleed through and discolor the finish.
Oil-based and alkyd primers penetrate porous wood, block tannin bleed and hold up better on exterior trim and bare metal. The trade-off is dry time, often overnight before a topcoat, plus stronger solvent odor and the need for mineral spirits cleanup. Shellac-based primer is the stain specialist: it seals water stains, smoke damage, ink, marker and knot bleed in a single coat and dries to the touch in under an hour, which is why restoration painters keep it on the truck.
A practical compatibility matrix looks like this:
- Bare drywall and joint compound: water-based latex primer. Seals porosity so the topcoat sheens evenly.
- Previously painted interior walls: water-based bonding primer, or shellac over stains and smoke residue.
- Bare wood and trim: oil-based or alkyd primer for tannin and knot blocking; water-based bonding primer where low odor matters more than stain control.
- Cedar, redwood and other tannin-rich species: shellac-based or oil-based stain-blocking primer to stop brown bleed-through.
- Bare metal and galvanized steel: oil-based or alkyd primer formulated for metal adhesion; water-based direct-to-metal products exist but check the label for the specific alloy.
- Masonry, brick and concrete: alkali-resistant masonry primer, usually water-based, to handle the high pH that can attack ordinary latex.
- Glossy surfaces and laminate: a bonding primer designed for hard-to-stick substrates, after deglossing.
- Kitchen and bath ceilings with grease or nicotine: shellac-based stain blocker first, then the topcoat system.
Tinted primer can be worth considering when you are going from a deep color to a bright one, because a gray or color-matched base can reduce the number of topcoats needed. Match the primer to the substrate first, then to the color you are painting over, a perfectly tinted primer on the wrong substrate still fails.
Watch out: using a water-based primer over a tannin-heavy wood or a fresh masonry wall can cause bleed-through and early peeling, and the failure often does not show up until the topcoat has cured.
The article sorts primers by family and matches each to the surface it suits.
| Primer type | Best for | Key difference |
|---|---|---|
| Water-based latex | Interior drywall and previously painted walls | Dries fast, low odor, soap-and-water cleanup |
| Oil-based or alkyd | Porous wood, exterior trim and bare metal | Blocks tannin bleed, but needs longer dry time |
| Shellac-based | Water stains, smoke damage, ink and knot bleed | Seals in one coat and dries in under an hour |
How Long Does Primer Take to Dry Before Topcoat?
Latex primers generally dry to the touch within an hour, but drying times depend on humidity, temperature and airflow. Oil-based primers usually need considerably longer before you apply finish paint.
Read the manufacturer's recovery time on the can, since it reflects the product's chemistry. Rushing the topcoat over a primer that has not cured can cause the finish to lift, wrinkle or fail to adhere properly.
Troubleshooting Primer Failure and Common Mistakes
When primer fails, the symptom usually points to the cause.
Peeling or flaking in sheets. Adhesion failure. The usual culprits are a glossy surface that was never deglossed, dust or grease left on the wall, or a primer applied over a curing or chalky substrate. Scrape a sample, check whether the primer is stuck to the wall or the topcoat is stuck to the primer, that tells you which layer failed.
Blistering or bubbling. Moisture trapped under the film, or primer applied too thickly so the surface skins over before the solvents escape. Bathrooms, kitchens and exterior walls with a vapor drive are the common locations. Let the substrate dry fully and apply thinner coats.
Bleed-through and flashing. Stains, tannins or old color migrating through the primer. This is a stain-blocking failure, not a coverage failure, more topcoat will not fix it. Shellac-based or oil-based stain blocker over the affected area, then re-prime and topcoat.
Wrinkling or lifting of the topcoat. The topcoat went on before the primer cured. Latex primers typically need two to four hours; oil-based primers often need overnight. Cool, humid conditions stretch those windows. Check the manufacturer's recoat time, not the dry-to-touch time.
Uneven sheen or dull patches. The primer did not seal the substrate evenly, usually bare joint compound or patched areas that soaked up more product. A second sealing coat over the porous areas resolves it before the finish coat goes on.
Primer that stays tacky. Overthick application, inadequate airflow, or a product past its shelf life. Solvent-based primers in particular can stay soft for days in a cool room.
Common mistakes that cause these failures include skipping the cleaning and deglossing step, priming over a damp surface, applying primer too thick, and rushing the topcoat. Degloss shiny walls, remove loose paint, let the surface dry completely, and follow the recoat window on the label.
Watch out: painting a stain-blocking primer over a stain that is still wet or actively bleeding, water damage, fresh knots, nicotine, traps the problem under the film and it reappears within months. Let the source dry and seal it before priming.
Booking a Primer and Prep Assessment for Your Chicago-Area Home
If you are weighing whether your walls need primer, the quickest way to know is an on-site assessment.
Book a free estimate with Always Pro Painters to get a straight answer on whether your project needs primer and what the full preparation involves.
Frequently Asked Questions
Do professional painters use primer on every project?
Most professional painters prime on nearly every project, but not every one. New drywall, bare wood, patched areas, and surfaces with stains or a dramatic color change almost always need primer. A fresh coat of the same color on a well-maintained, previously painted wall in good condition may only need a quality topcoat. The deciding factors are the condition of the surface, the color change, and the finish you expect.
How many coats of primer are typically required?
One coat of primer is enough for most jobs, such as sealing new drywall or covering a stain. Two coats may be needed when you are covering a dark color with a light one, working with heavily porous or patched surfaces, or dealing with bare wood that has absorbed a lot of moisture. Check the product label, since it lists recommended coverage and drying times for each formula. Avoid skipping coats to save time, because uneven primer leads to uneven topcoat sheen and color.
What happens if you skip primer before painting?
Skipping primer often causes visible problems. Topcoat can soak unevenly into porous drywall, creating flashing, where the sheen looks patchy. Stains such as water marks or tannin bleed from wood can bleed through the new paint. Glossy surfaces may cause the topcoat to peel or lift. You may also need several extra topcoats to achieve full hide, which costs more in materials and labor.
Is it okay to paint over paint without primer?
Sometimes. If the existing paint is in good condition, clean, dull rather than glossy, and the new color is similar in shade, a good quality topcoat may be enough. Problems arise when the old paint is peeling, chalky, glossy, or dramatically darker than the new color. Light-to-dark changes and deep colors often require a tinted primer to reach full coverage in fewer coats. A quick surface assessment is the most reliable way to decide.
Next step: Request a free estimate from Always Pro Painters for a primer and prep assessment, and we will walk you through exactly what your walls need before the first coat goes on.