 How-to
How Do You Prepare Walls for Interior Painting?
Last Updated: November 6, 2026
Quick Summary
To prepare walls for painting, clear the room and protect fixtures, clean the surface to remove dust and grease, patch holes and cracks, then sand and prime. This prepare walls painting sequence lets each step dry fully so the topcoat bonds and looks smooth.
- Preparation can take a full day or more for a single room with light damage.
- Cleaning removes dust, grease and residue so paint can bond to the wall.
- Test old paint with painter's tape; if paint lifts, it needs scraping or treatment.
- Homes built before 1978 may contain lead paint; do not sand or dry-scrape without testing.
- Prime after sanding and patching, and let all patches dry fully before priming.
Table of Contents
- What Wall Preparation Involves and How Long It Takes
- Protect the Room, Furniture, and Fixtures Before You Start
- How to Clean Walls Before Painting
- Fastest Way to Clean Walls Before Painting Without Skipping Steps
- How to Prepare Walls for Painting Over Old Paint
- What to Apply Before Painting a Wall: Patching, Sanding, and Primer
- Booking a Free Estimate for Your Interior Paint Prep
- Frequently Asked Questions
What Wall Preparation Involves and How Long It Takes
Preparing walls for interior painting is the work you do before the first coat of paint goes on. It covers cleaning, patching, sanding, and priming. Done well, it is what makes a paint job look smooth and last. Done poorly, even expensive paint shows every bump, crack, and grease mark underneath.
Most homeowners underestimate how much time this takes. For a single room with light damage, expect preparation to take a full day or more. Rooms with many nail holes, cracks, or old peeling paint can take several days, mostly because patches need time to dry between coats.
Think of prep as the foundation of any good prepare walls painting job. Paint only covers what is already there, and it cannot hide a poor surface for long. Priming first explains why this step makes the finish coats perform better.
- Cleaning removes dust, grease, and residue so paint can bond.
- Patching fills holes and cracks so the wall looks even.
- Sanding smooths patches and loose edges.
- Priming seals the surface and evens out color.
Painting over a wall with loose or peeling paint without scraping it first often leads to the new paint peeling off.
Protect the Room, Furniture, and Fixtures Before You Start
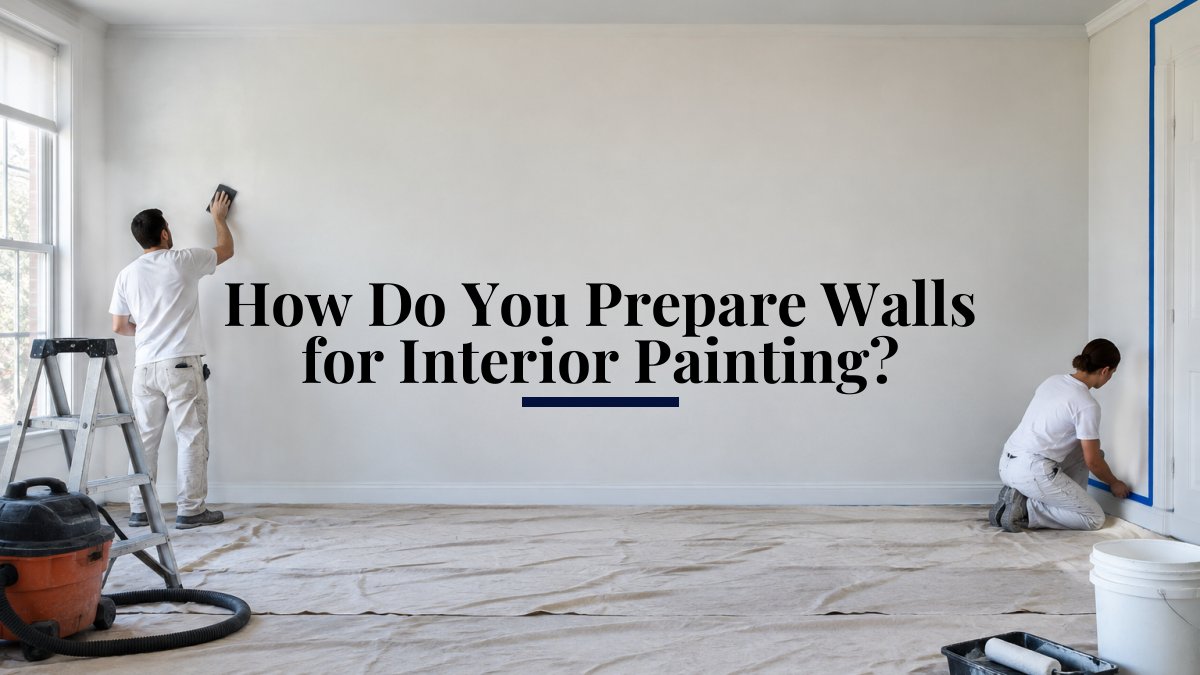
Before you touch a wall, clear the room. Move furniture to the center and cover what stays with plastic sheeting or drop cloths. Painter's tape should go on trim, baseboards, and window frames. Take down curtains, rods, pictures, and wall hooks so nothing gets in the way while you work.
Protecting floors matters as much as protecting furniture. Dust from sanding settles fast, and drips spread farther than most people expect.
Remove outlet covers and switch plates as well. Painting around them leaves paint lines that look sloppy and are hard to fix later.
How to Clean Walls Before Painting
Cleaning is the step most people skip, and it is the one that most affects paint adhesion. Dirt, grease, and cooking residue stop paint from bonding to the wall. Start by dusting the entire surface with a dry cloth or a soft brush, working from the top down.
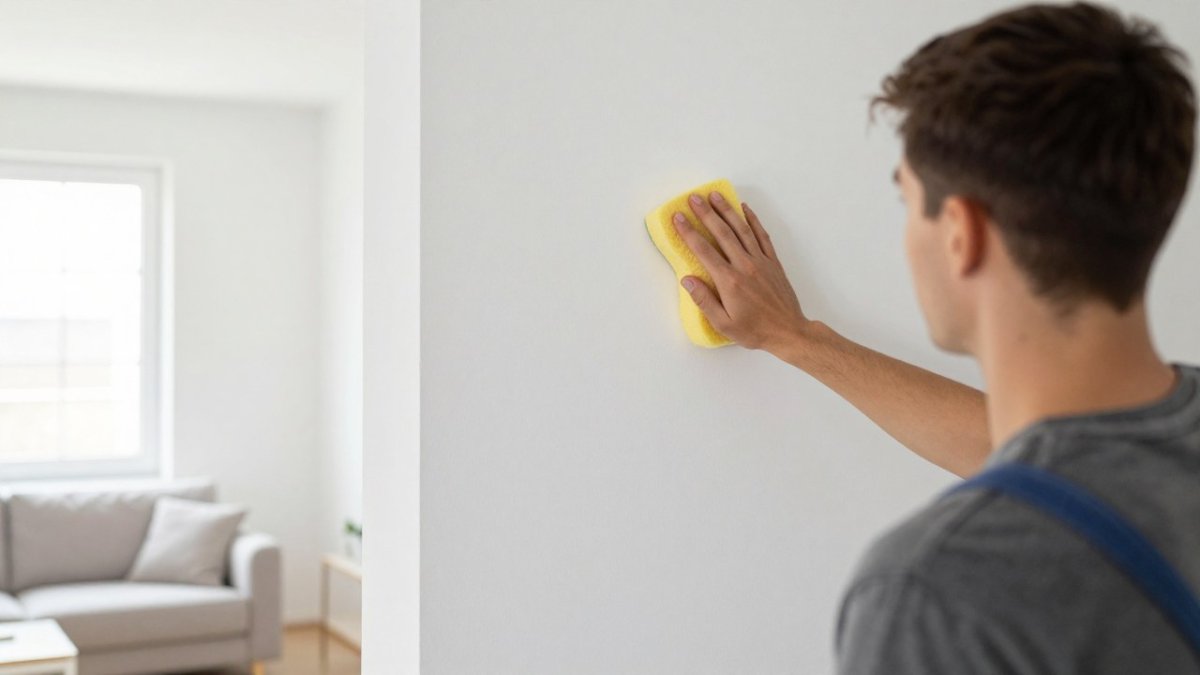
For general dirt, mix a few drops of mild dish soap into warm water. Wipe the wall with a damp cellulose sponge or clean rag, then rinse with clean water. For kitchens or walls near stoves, where grease builds up, use a degreaser made for walls. Test any product on a small hidden area first, since some cleaners can dull or lift paint.
Rinse the wall with a damp cloth to remove soap residue. Then let it dry completely before you move on. Painting over damp walls can trap moisture and cause bubbles or mildew.
Fastest Way to Clean Walls Before Painting Without Skipping Steps
If you are short on time, the quickest reliable method is a two-pass wipe. First, vacuum or dust the walls from top to bottom with a soft brush attachment. Second, wipe the walls with a sponge dipped in warm soapy water, wringing it out well so the wall is damp, not dripping.
Work in small sections, about one wall at a time, and rinse the sponge often. Dirty water just moves grime around. Once a section is clean, rinse it with plain water and move on.
Do not skip the drying step to save time. A wall that looks dry on top can still hold moisture in the drywall. Give it several hours, and longer in humid rooms.
How to Prepare Walls for Painting Over Old Paint
Old paint needs a different approach than bare drywall, and the right method depends on what is already on the wall. Before you scrape or sand anything, identify the surface and its condition. Press a strip of painter's tape onto the wall and pull it off quickly.
Homes built before 1978 may have lead-based paint, and sanding or dry-scraping it can release lead dust. Under U.S. Environmental Protection Agency (EPA) rules, lead-safe work practices apply to renovation and painting in pre-1978 housing, and firms doing this work must be certified under the EPA's Lead Renovation, Repair and Painting (RRP) Rule. Check the EPA website for current requirements.
For previously painted walls without lead concerns, work through the surface by condition:
- Loose or peeling paint: scrape with a putty knife until you reach firm material, then feather the edges so there are no sharp ridges. Sand the feathered area with medium-grit (around 100-120 grit) paper to blend it into the surrounding wall.
- Glossy finishes: dull the sheen with 120-150 grit sandpaper or a liquid deglosser so the new coat has a mechanical grip. Paint over high-gloss trim or semigloss walls without dulling it and adhesion failures are common.
- Chalky or powdery paint: wipe with a damp cloth and a degreaser; if the chalkiness persists, a bonding primer is usually needed.
- Wallpaper: remove it rather than paint over it. Score the paper, apply a wallpaper remover or warm water, and scrape gently with a wide putty knife. Painting over wallpaper traps moisture and can lift seams.
- Plaster walls: fill cracks with a setting-type compound rather than lightweight spackle, and allow longer drying because plaster is porous and cool.
- Textured surfaces: clean with a soft brush and vacuum, then spot-prime repairs; heavy texture hides small flaws but also holds dust, so rinse thoroughly.
After scraping and sanding, wipe away all sanding dust with a damp cloth and let the wall dry. Dark paint covering a light color, or glossy paint under a flat finish, often needs a bonding primer. Check the paint can label or ask at your paint store to confirm the right primer for the existing coating.
Watch out: sanding old paint without testing for lead can contaminate a room with dust that is difficult and expensive to clean up, and it is a health risk for anyone living in the home.
What to Apply Before Painting a Wall: Patching, Sanding, and Primer
Patching materials and tools: if a crack keeps reappearing after you fill it, repairing drywall cracks that keep coming back explains when the problem needs more than another coat of compound.
- Lightweight spackle for nail holes and small dents; it dries fast and sands easily.
- Setting-type joint compound (often sold as a powder you mix) for larger patches, cracks, and plaster; it dries harder and shrinks less than spackle.
- Drywall mesh tape or a self-adhesive patch for holes larger than about 1 inch and for cracks that need bridging.
- A 4- to 6-inch putty knife for small fills and a 10- to 12-inch knife for feathering larger patches.
- Sandpaper in a sequence: 100-120 grit for shaping repairs, 150-180 grit for blending, and 220 grit for final smoothing before primer.
- A sanding block or pole sander for flat, even pressure, and a tack cloth or damp cloth for dust removal.
- Painter's tape and drop cloths to protect trim and floors during sanding.
Fill nail holes and small dents with spackle, pressing it in with a putty knife and scraping it flush.
Let patches dry fully. Lightweight spackle often dries in a few hours, but setting-type compound and thick repairs can need longer, especially in humid conditions.
Prime after sanding, not before. If you are still deciding how to handle a repair, how to fix nail pops in drywall covers the patching and blending steps in detail.
Readiness checks before primer or paint:
- Clean: no dust, grease, or soap residue; wipe with a damp cloth and let dry.
- Dry: patches and washed areas are dry to the touch and no cooler than the room; trapped moisture causes bubbles and mildew.
- Smooth: run a hand and a low-angle light across the wall; sand any ridges or hollows.
- Dust-free: remove sanding dust with a tack cloth or damp cloth, and vacuum floors and ledges so dust does not settle back on the wall.
- Stable: no loose paint, chalky residue, or glossy spots that have not been dulled.
Common mistake: priming and painting before the patches are dry. The paint can shrink, crack, or peel off the repair, and you end up patching the same spot again.
Watch out: using a thick single coat of compound to save time can lead to a patch that dries unevenly and shrinks.
The sequence of repair materials and readiness checks before topcoat is summarised below.
| Check or step | Target | Note |
|---|---|---|
| Clean | No dust, grease or soap residue | Wipe with damp cloth and let dry |
| Dry | Patches dry to the touch | Trapped moisture causes bubbles and mildew |
| Smooth | No ridges or hollows | Check with hand and low-angle light |
| Dust-free | Sanding dust removed | Use tack cloth or damp cloth |
| Stable | No loose or glossy spots | Dull glossy spots before priming |
| Sanding grit | 100-120, then 150-180, then 220 | Shape, blend, then final smooth |
Booking a Free Estimate for Your Interior Paint Prep
Preparation is often the most labor-intensive part of an interior painting job, and it is easy to underestimate the hours involved. If you would rather hand off the cleaning, patching, sanding, and priming, Always Pro Painters can walk through your rooms and explain what preparation each wall needs. You can request a free estimate to start that conversation.
Because pricing depends on room size, wall condition, and the amount of repair work involved, the most accurate way to get a number is an on-site visit. Always Pro Painters serves Chicago and its suburbs with interior painting services, including drywall repairs and cabinet refinishing.
If you are handling the prep yourself, use the steps above as your checklist. Work top to bottom, let each stage dry fully, and prime before you paint. A well-prepared wall is the difference between a finish that lasts for years and one that starts peeling after a season.
Frequently Asked Questions
What should I wipe my walls down with before I paint?
Use warm water mixed with a mild dish detergent for most walls. Dampen a cellulose sponge or clean rag, wring it out well, and wipe from the bottom up to remove dust, grime, and grease. Kitchen walls and areas near the stove often need a degreaser because cooking residue does not lift with soap alone. Rinse with clean water, then let the wall dry completely before you patch or prime. Wiping too wet can streak the surface or soften old paint, so keep the sponge damp rather than soaked.
Do you need to sand walls before painting?
Sand only where the surface needs it. Lightly sand glossy areas to dull the sheen so new paint can grip, and smooth patched spots, ridges, and peeling edges once the filler has cured. Sanding bare drywall too aggressively can raise the paper, so use fine-grit sandpaper and light pressure. Vacuum or wipe away sanding dust before priming, because leftover dust weakens paint adhesion and can leave a rough finish.
How do you prepare walls for painting over old paint?
Start by checking whether the old paint is sound. Scrape away loose or peeling paint, then sand the edges so they feather smoothly into the good surface. If the existing paint is glossy or the color change is dark to light, sand or use a bonding primer. Patch holes and cracks, let the compound dry, sand it flush, and clean the surface. Test an unfamiliar older finish in a small area first, and if the paint may predate 1978, check for lead before disturbing it, since lead-based paint is regulated by the EPA and HUD.
What should I apply to a wall before painting?
Apply a primer after cleaning, patching, and sanding. Primer seals patched spots so they do not show through, improves paint adhesion, and evens out porous or stained areas. Use a stain-blocking primer over water stains, smoke damage, or mildew, and a bonding primer over glossy or previously painted surfaces. Choose a primer based on the wall condition rather than the color, and allow it to dry fully before applying the topcoat.